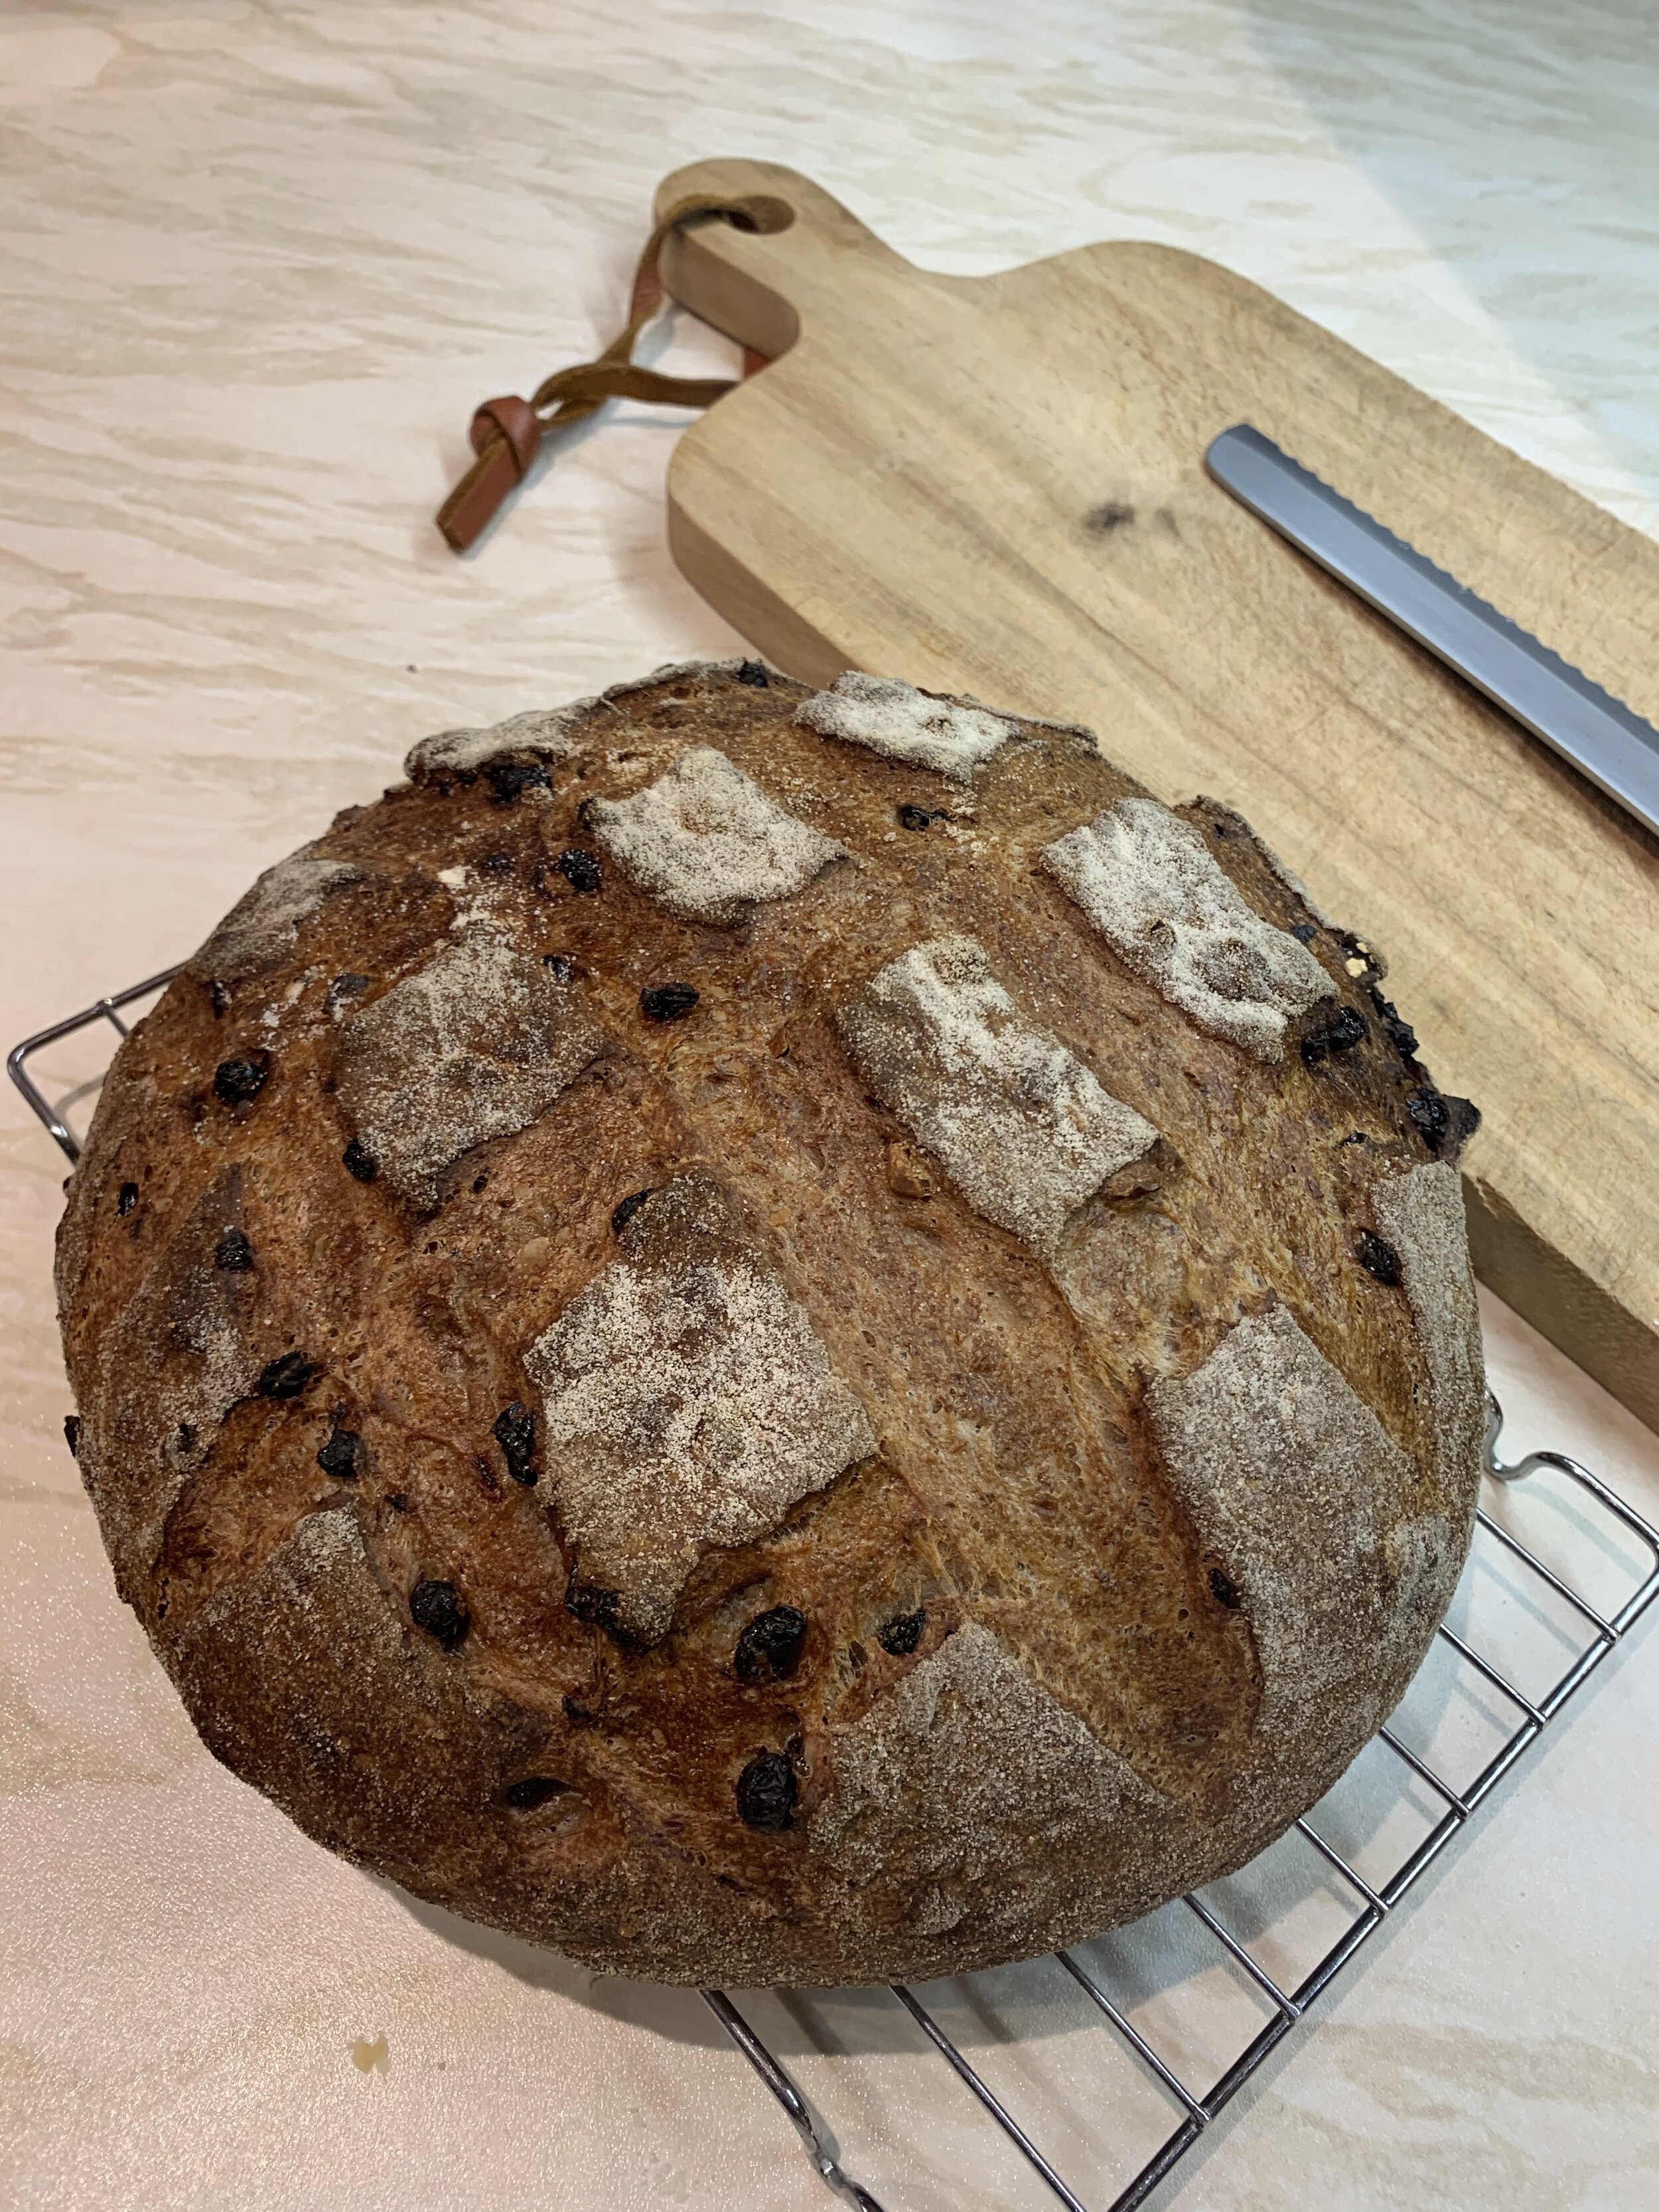
Sourdough walnut and raisin loaf
A healthier alternative to a slice of cake? Well that’s what I tell myself. Cut a slice and just spread on a little butter when your are having a mid morning cuppa.
This recipe is very similar to my base sourdough recipe with just some additional ingredients. I nearly always use my base recipe as the starting point for any other types of bread I make. This dough is a little wetter so I do recommend using a mixer over kneading by hand.
You can start experimenting with this recipe by removing some white flour and replacing it with more wholemeal. Just remember by adding more wholemeal flour you will end up with a denser loaf at the end. Or perhaps replace walnuts and raisins with pecans and cranberries.
Ingredients
Levain
150g Sourdough Starter
250g Strong White Bread Flour
275ml water
Dough
225g Strong White Bread Flour
75g Strong Wholemeal Bread Flour
9g Salt
50ml Water
1 tbsp Honey
1 tbsp Olive Oil
150g coarsely chopped Walnuts
100g raisins
Some Rice Flour for dusting
Equipment
Weighing scales
Mixer with a dough hook
Blender
Large bowl for proving the dough
Tea Towel
Cling film
Dutch Oven (I use the lodge combo cooker)
Proving basket
Sharp knife or a razor blade on a bakers lame.
Cooling rack
Method
1. Create your levain
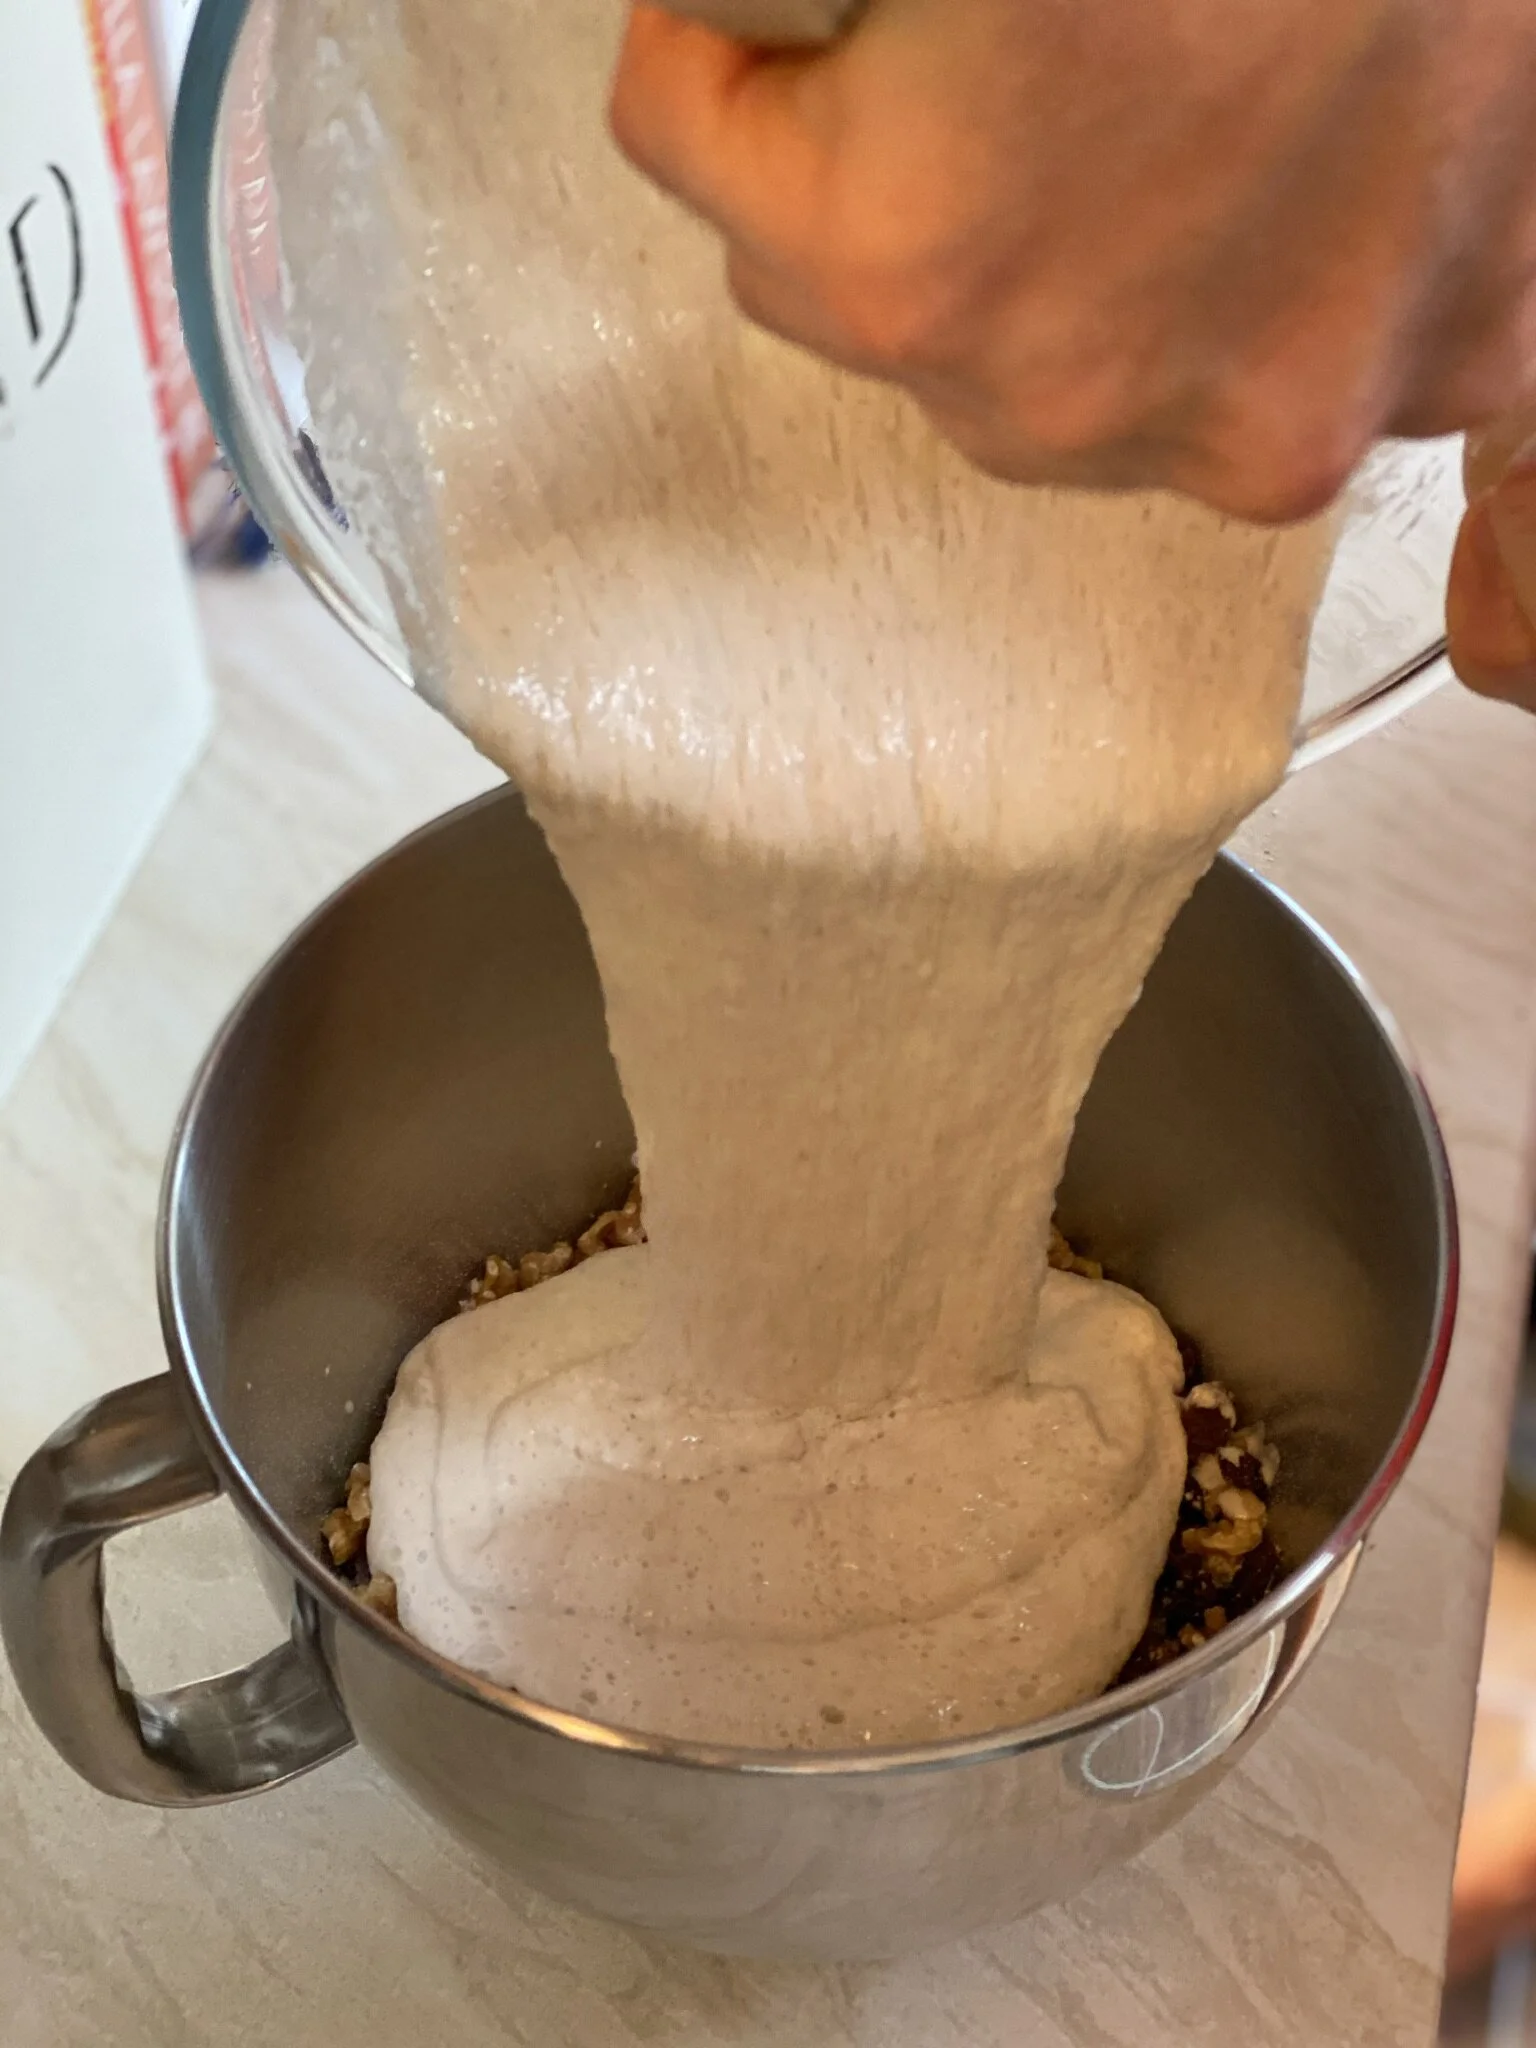
The evening before the day you want to bake the bread mix together 150g of your sourdough starter, 250g strong bread flour, and 275ml of luke warm water in a medium size bowl. Cover the bowl with clingfilm, wrap with a tea towel and leave overnight. When you return in the morning it should be nice and bubbly.

After a week in the fridge my starter has separated and it has a layer of liquid on top. Don’t worry about this it is still fine to use.

Just give the starter a good stir and you should be good to go. When my starter is nice and active it feels thick and gloopy and a little bit elastic.

Pour 150g grams of your starter into a bowl.

Add 250g of strong white bread flour to the bowl.

Add 275ml of luke warm water. I take cold water from the tap and give it 30 seconds in the microwave.

Mix everything together with a spoon.

Once combined you can cover with cling film and wrap the bowl with a tea towel to keep it warm. Leave at room temperature overnight.
2. Make the dough
You do the rest of the steps the following morning.

The following morning your levain should look nice and frothy with plenty of bubbles. This is a sign that it is nice and active.
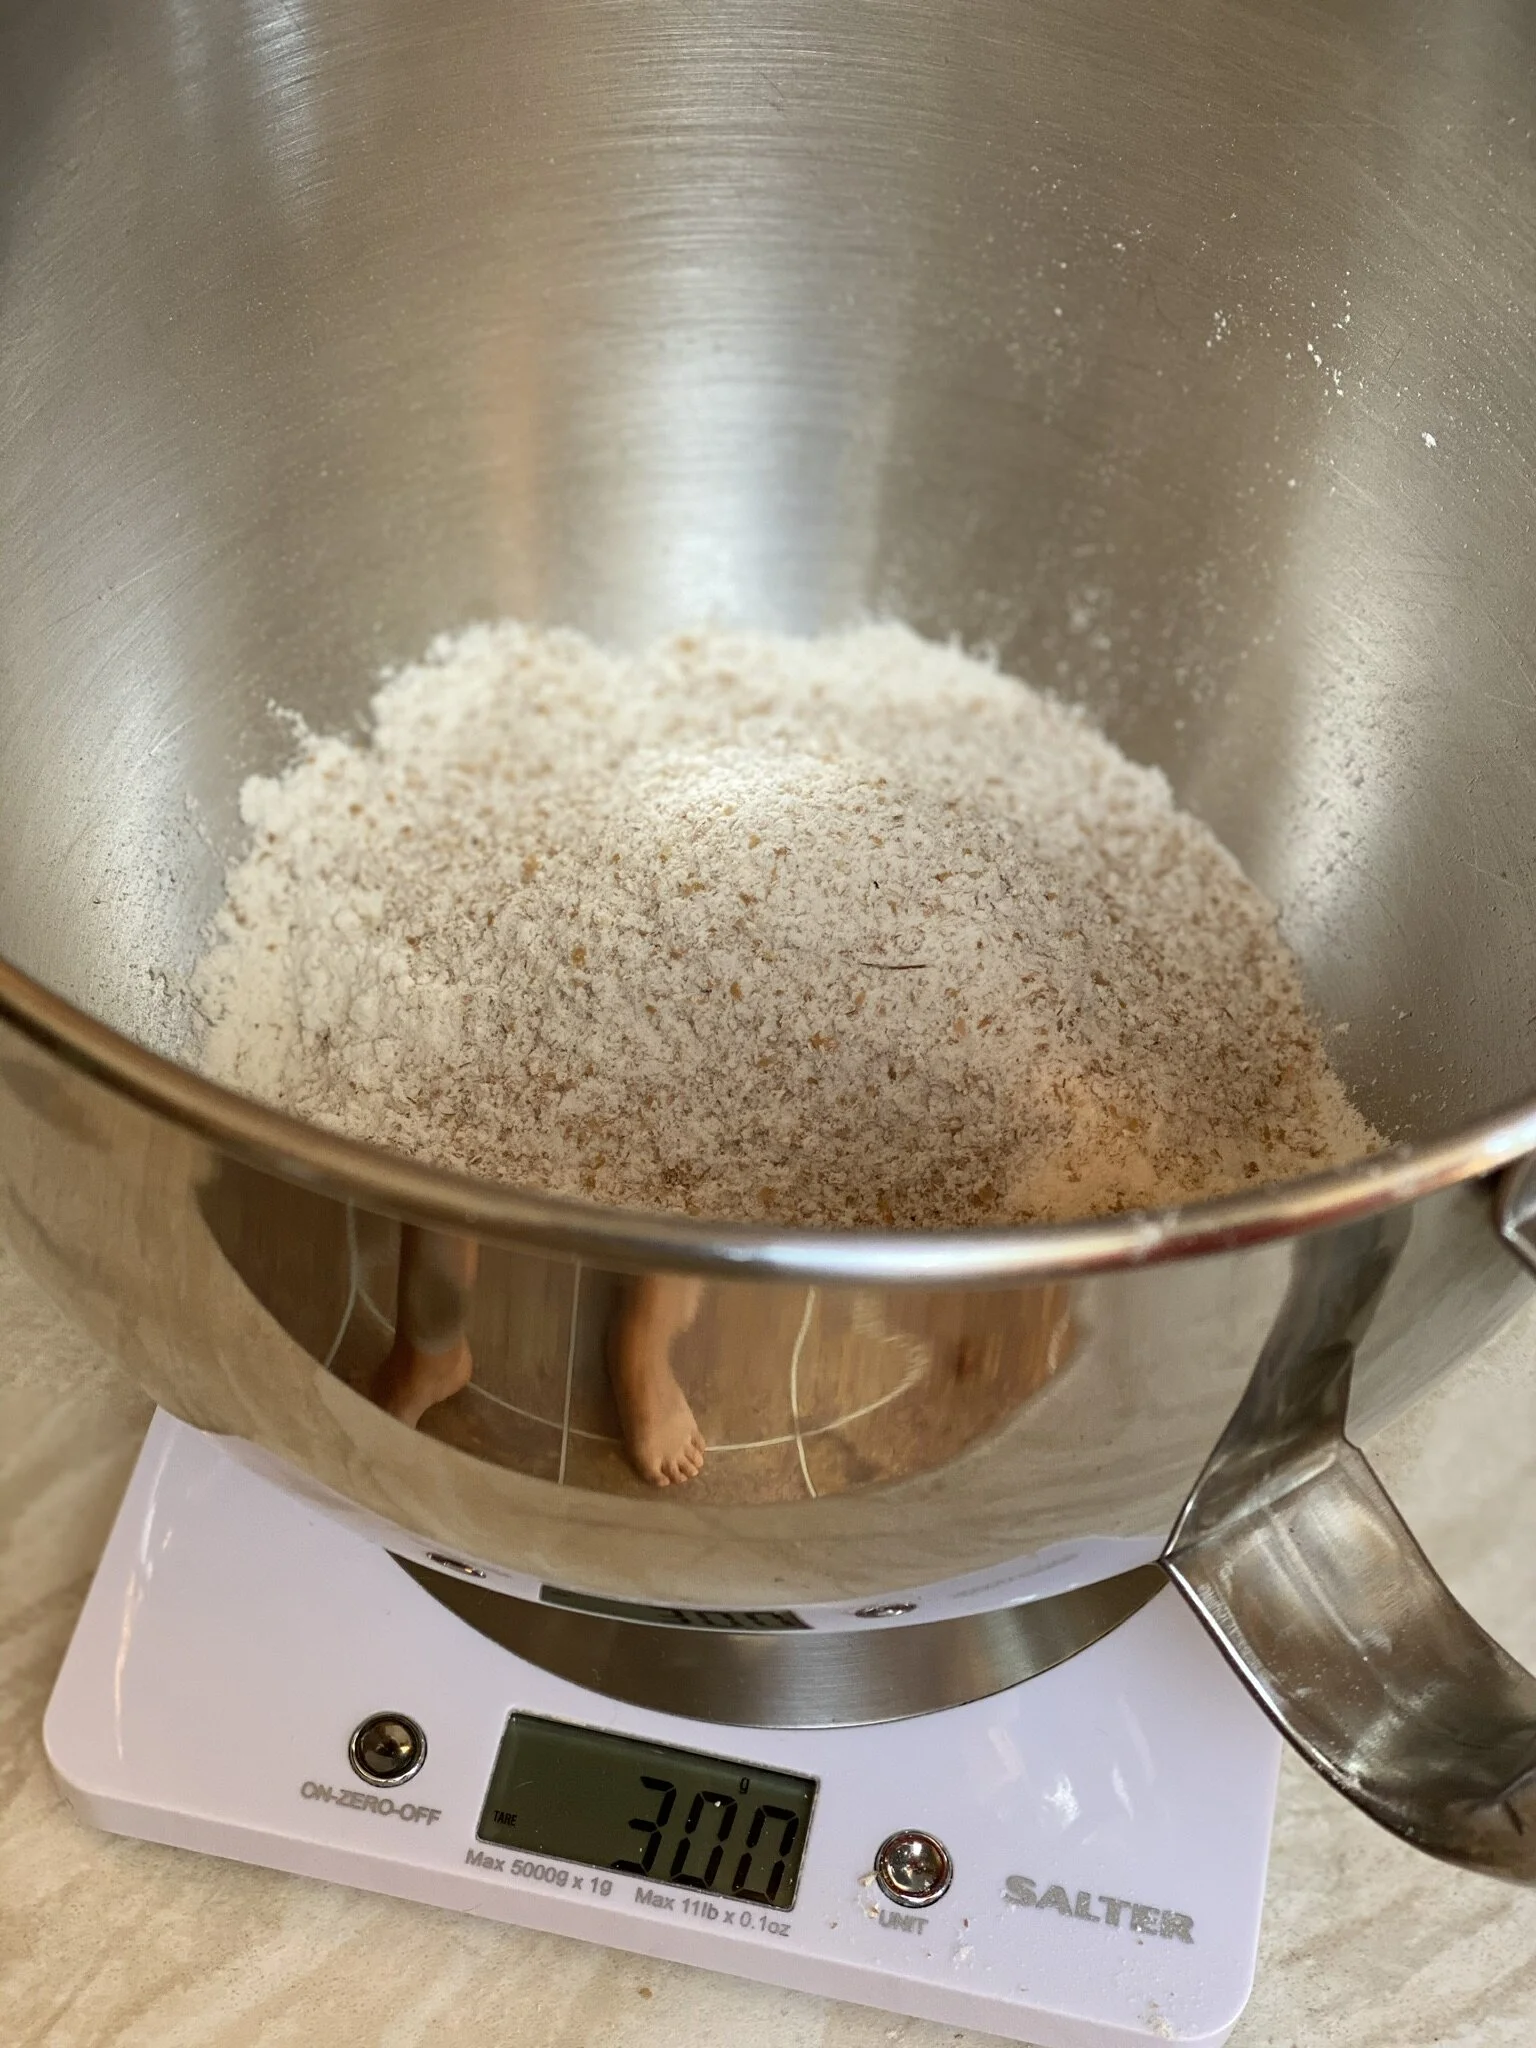
Add 225g of strong white bread flour, 75g of wholemeal bread flour, 100g of chopped walnuts and 100g of raisins to the bowl of your mixer.

Add 9g of fine salt to the bowl.
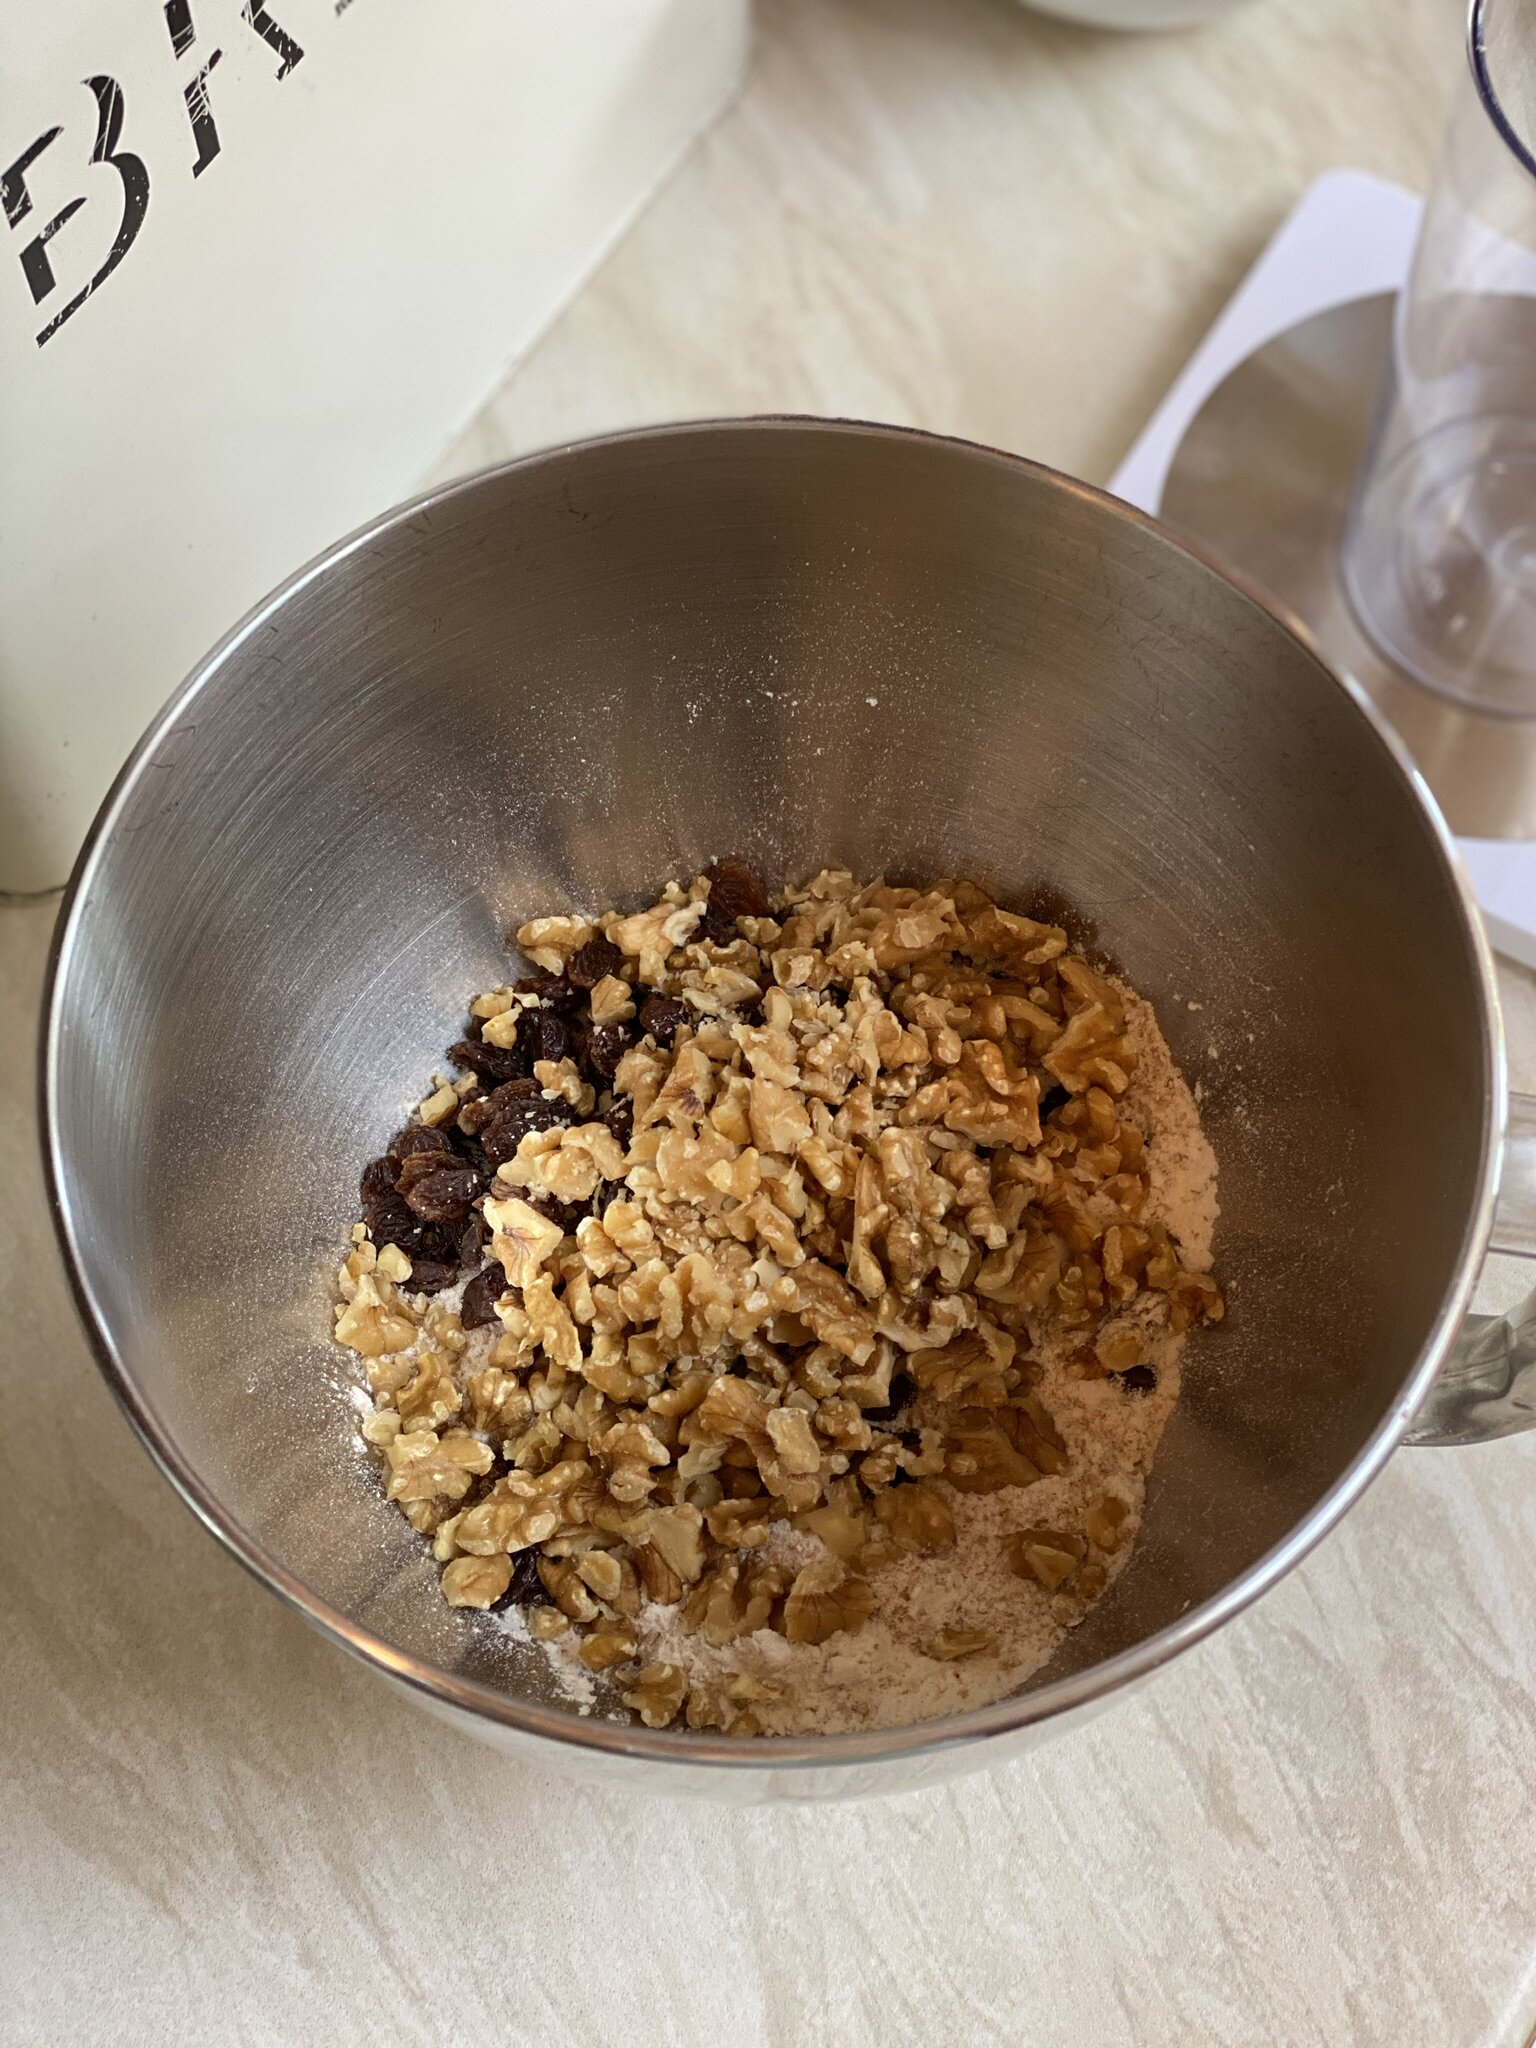
Add 100g of the chopped walnuts and the raisins to the bowl.

Blitz together 50 ml of water, 1 tbsp of olive oil, 1 tbsp of honey and the remaining 50g of walnuts in a blender until smooth.
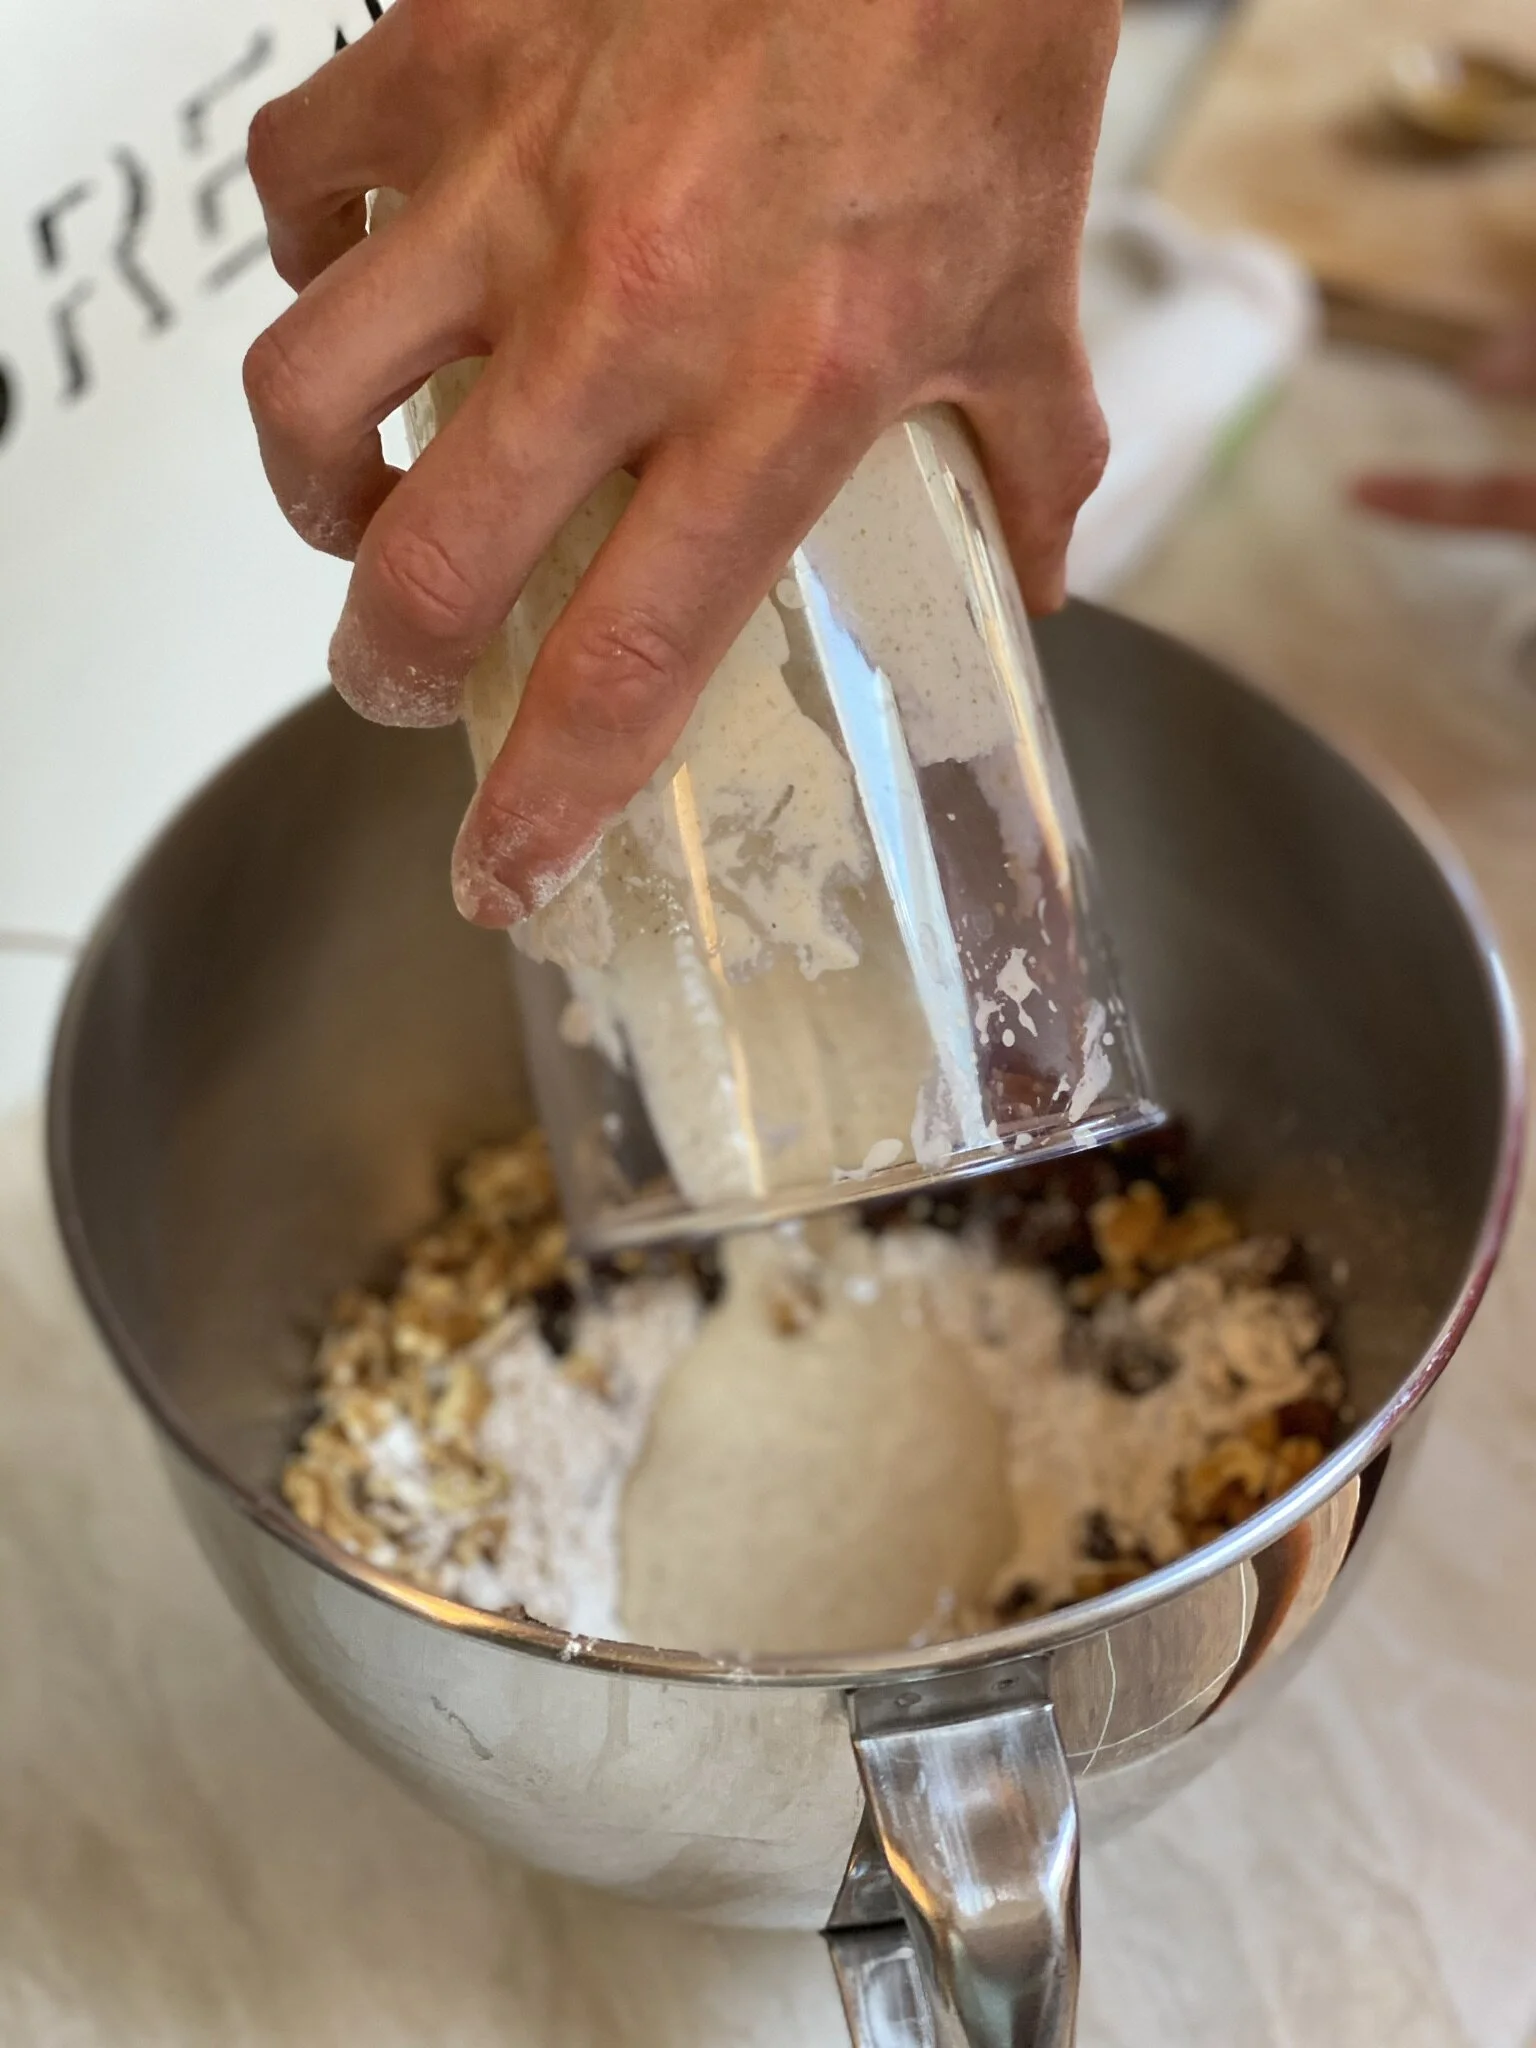
Make a little well in the flour and pour in the blended mixture.
Add your levain to the bowl.

Fit the bowl onto your mixer along with a dough hook.

Bring the mixture together on the mixers lowest speed setting. If the dough seems really wet don’t panic. Give it a bit of time and it will come together.

When the dough comes together set a timer and leave to knead for 5 - 7 minutes. Keep kneading until it pulls most of the sticky bits off the side of the bowl.
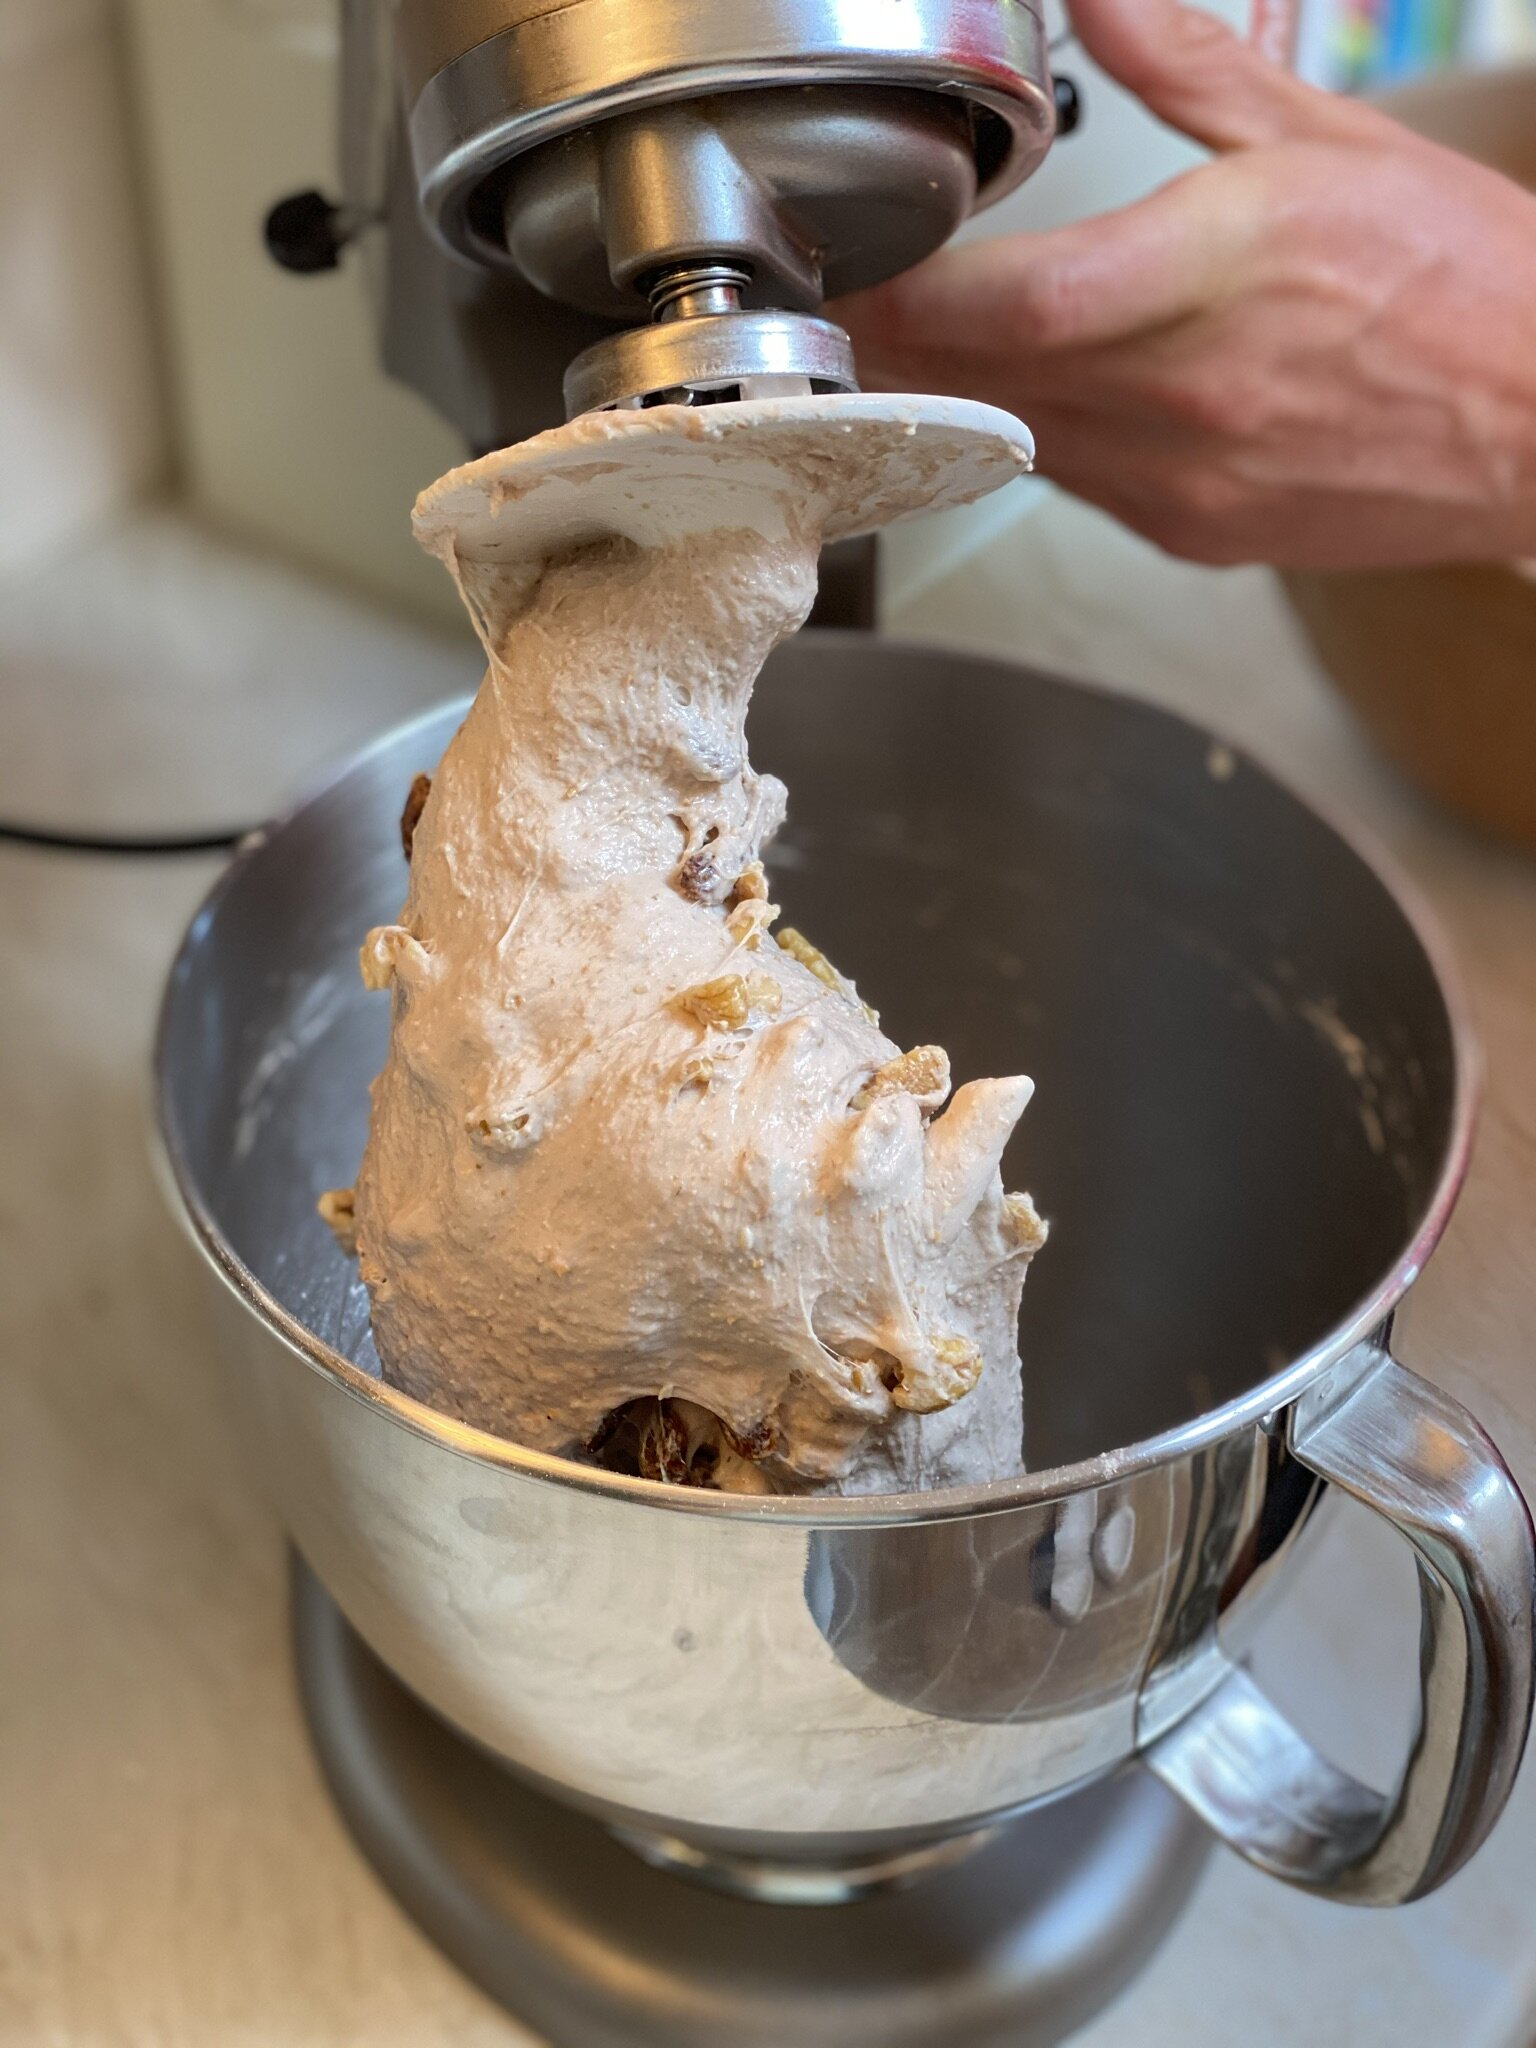
If the dough is ready it will stay together in one elastic lump when you try to lift it.

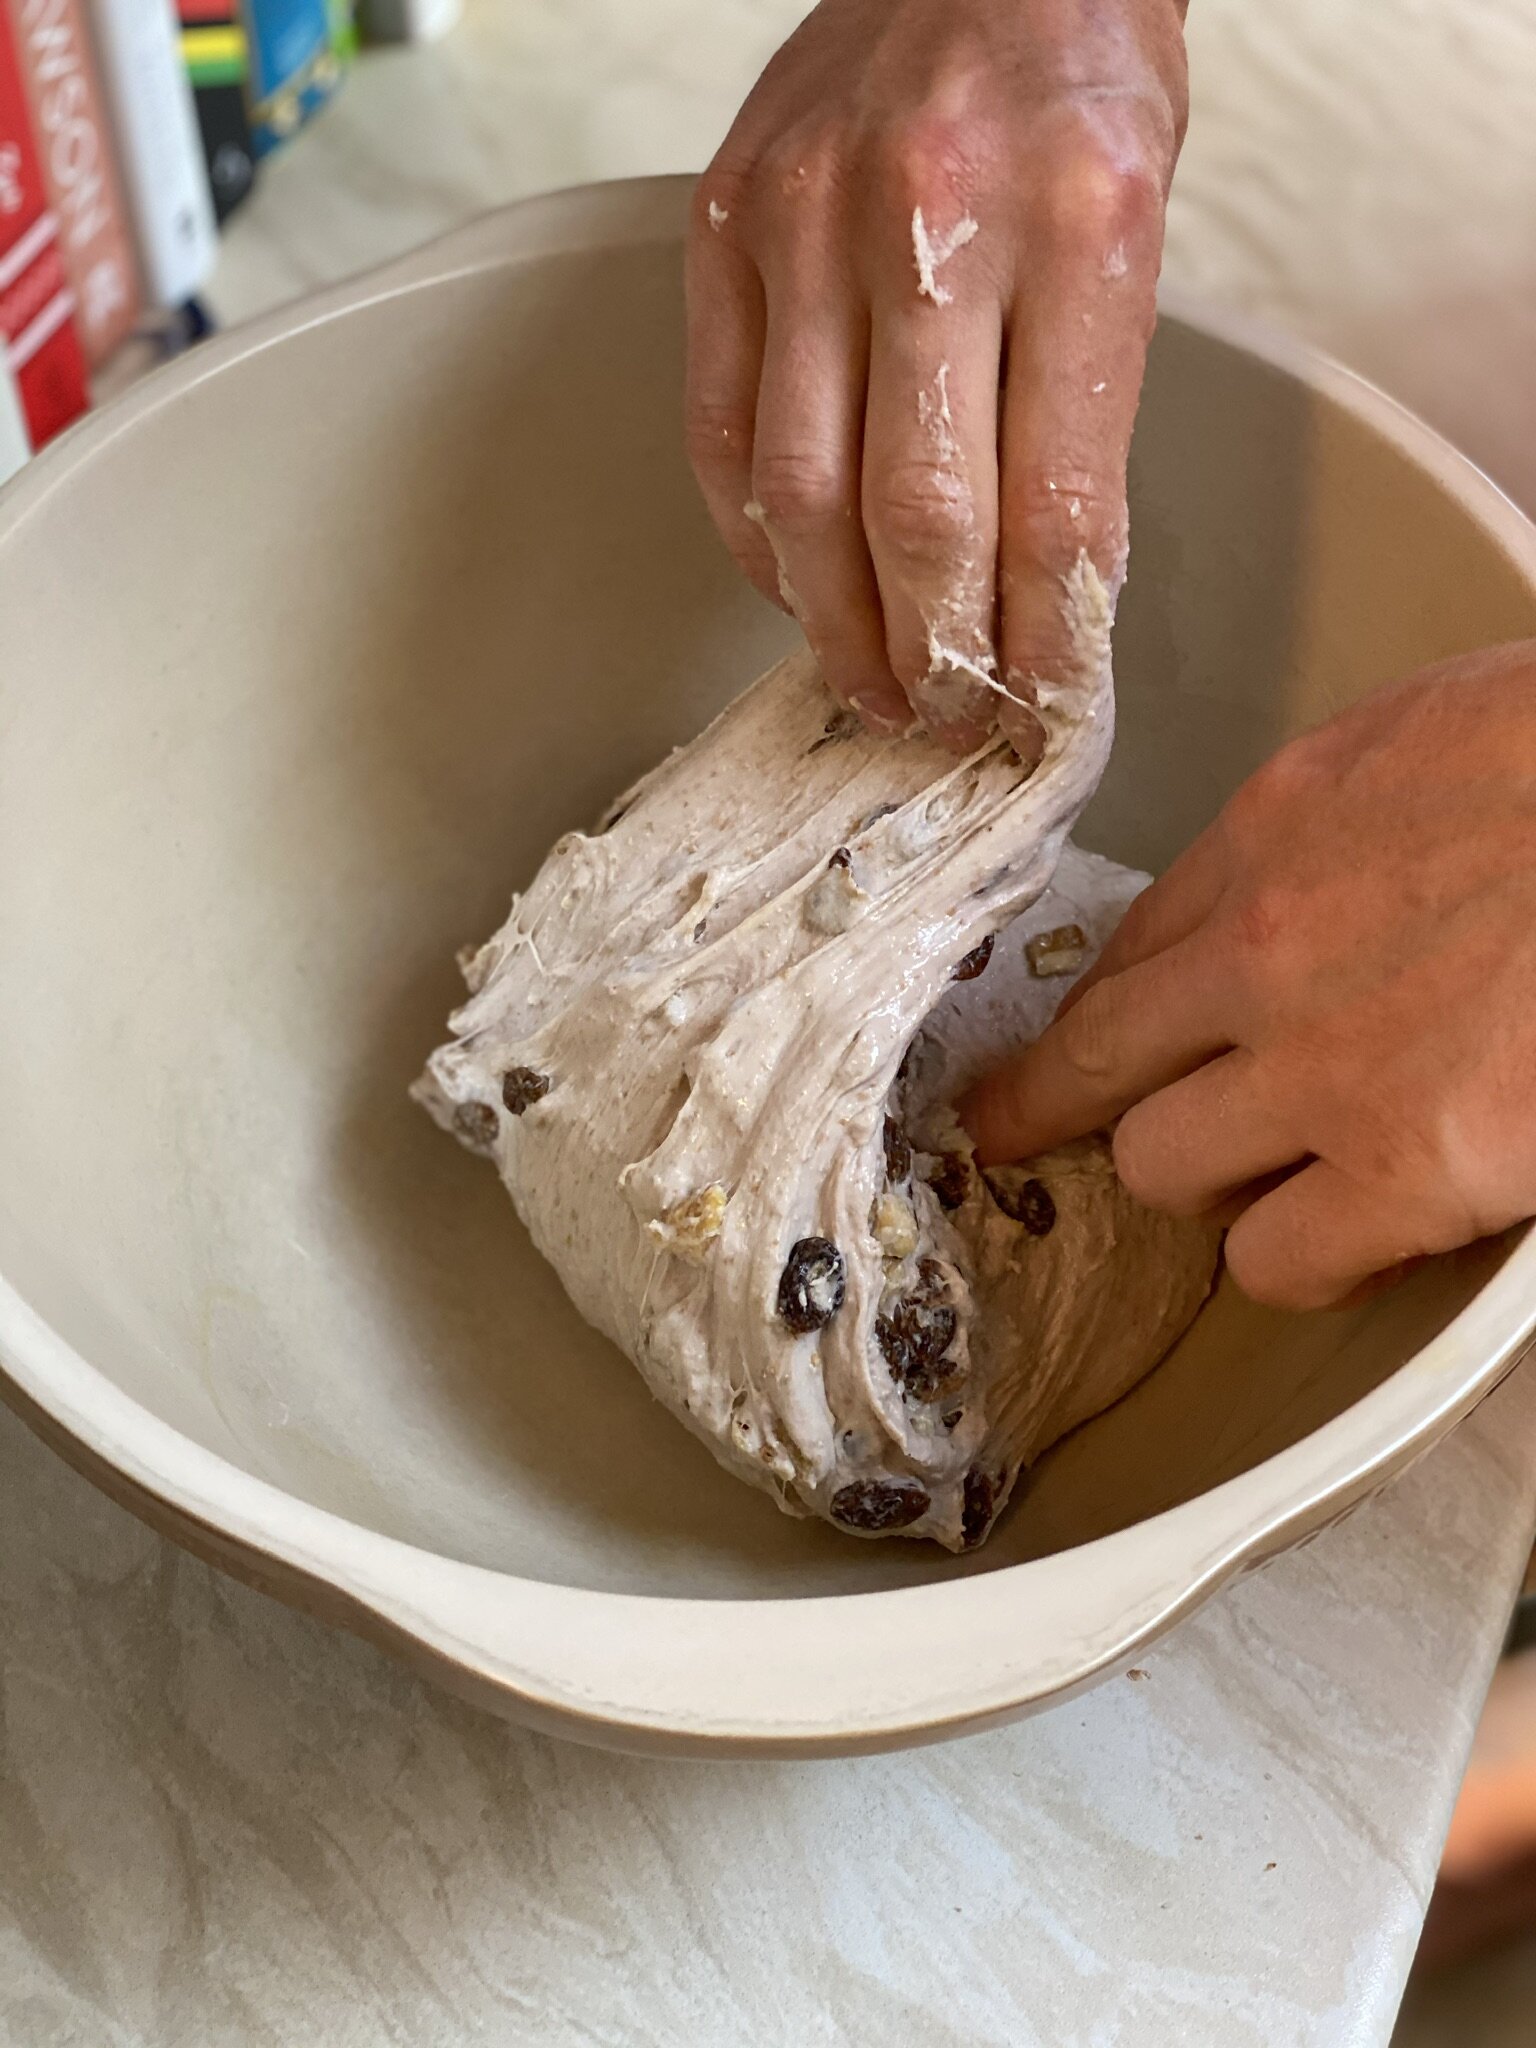
Oil a large bowl with some olive oil using the palm of your hand. This will stop the dough sticking to the bowl and make folding easier.

Using your oiled hand transfer the dough to your bowl for folding and proving.

Your dough is now ready for the first fold.
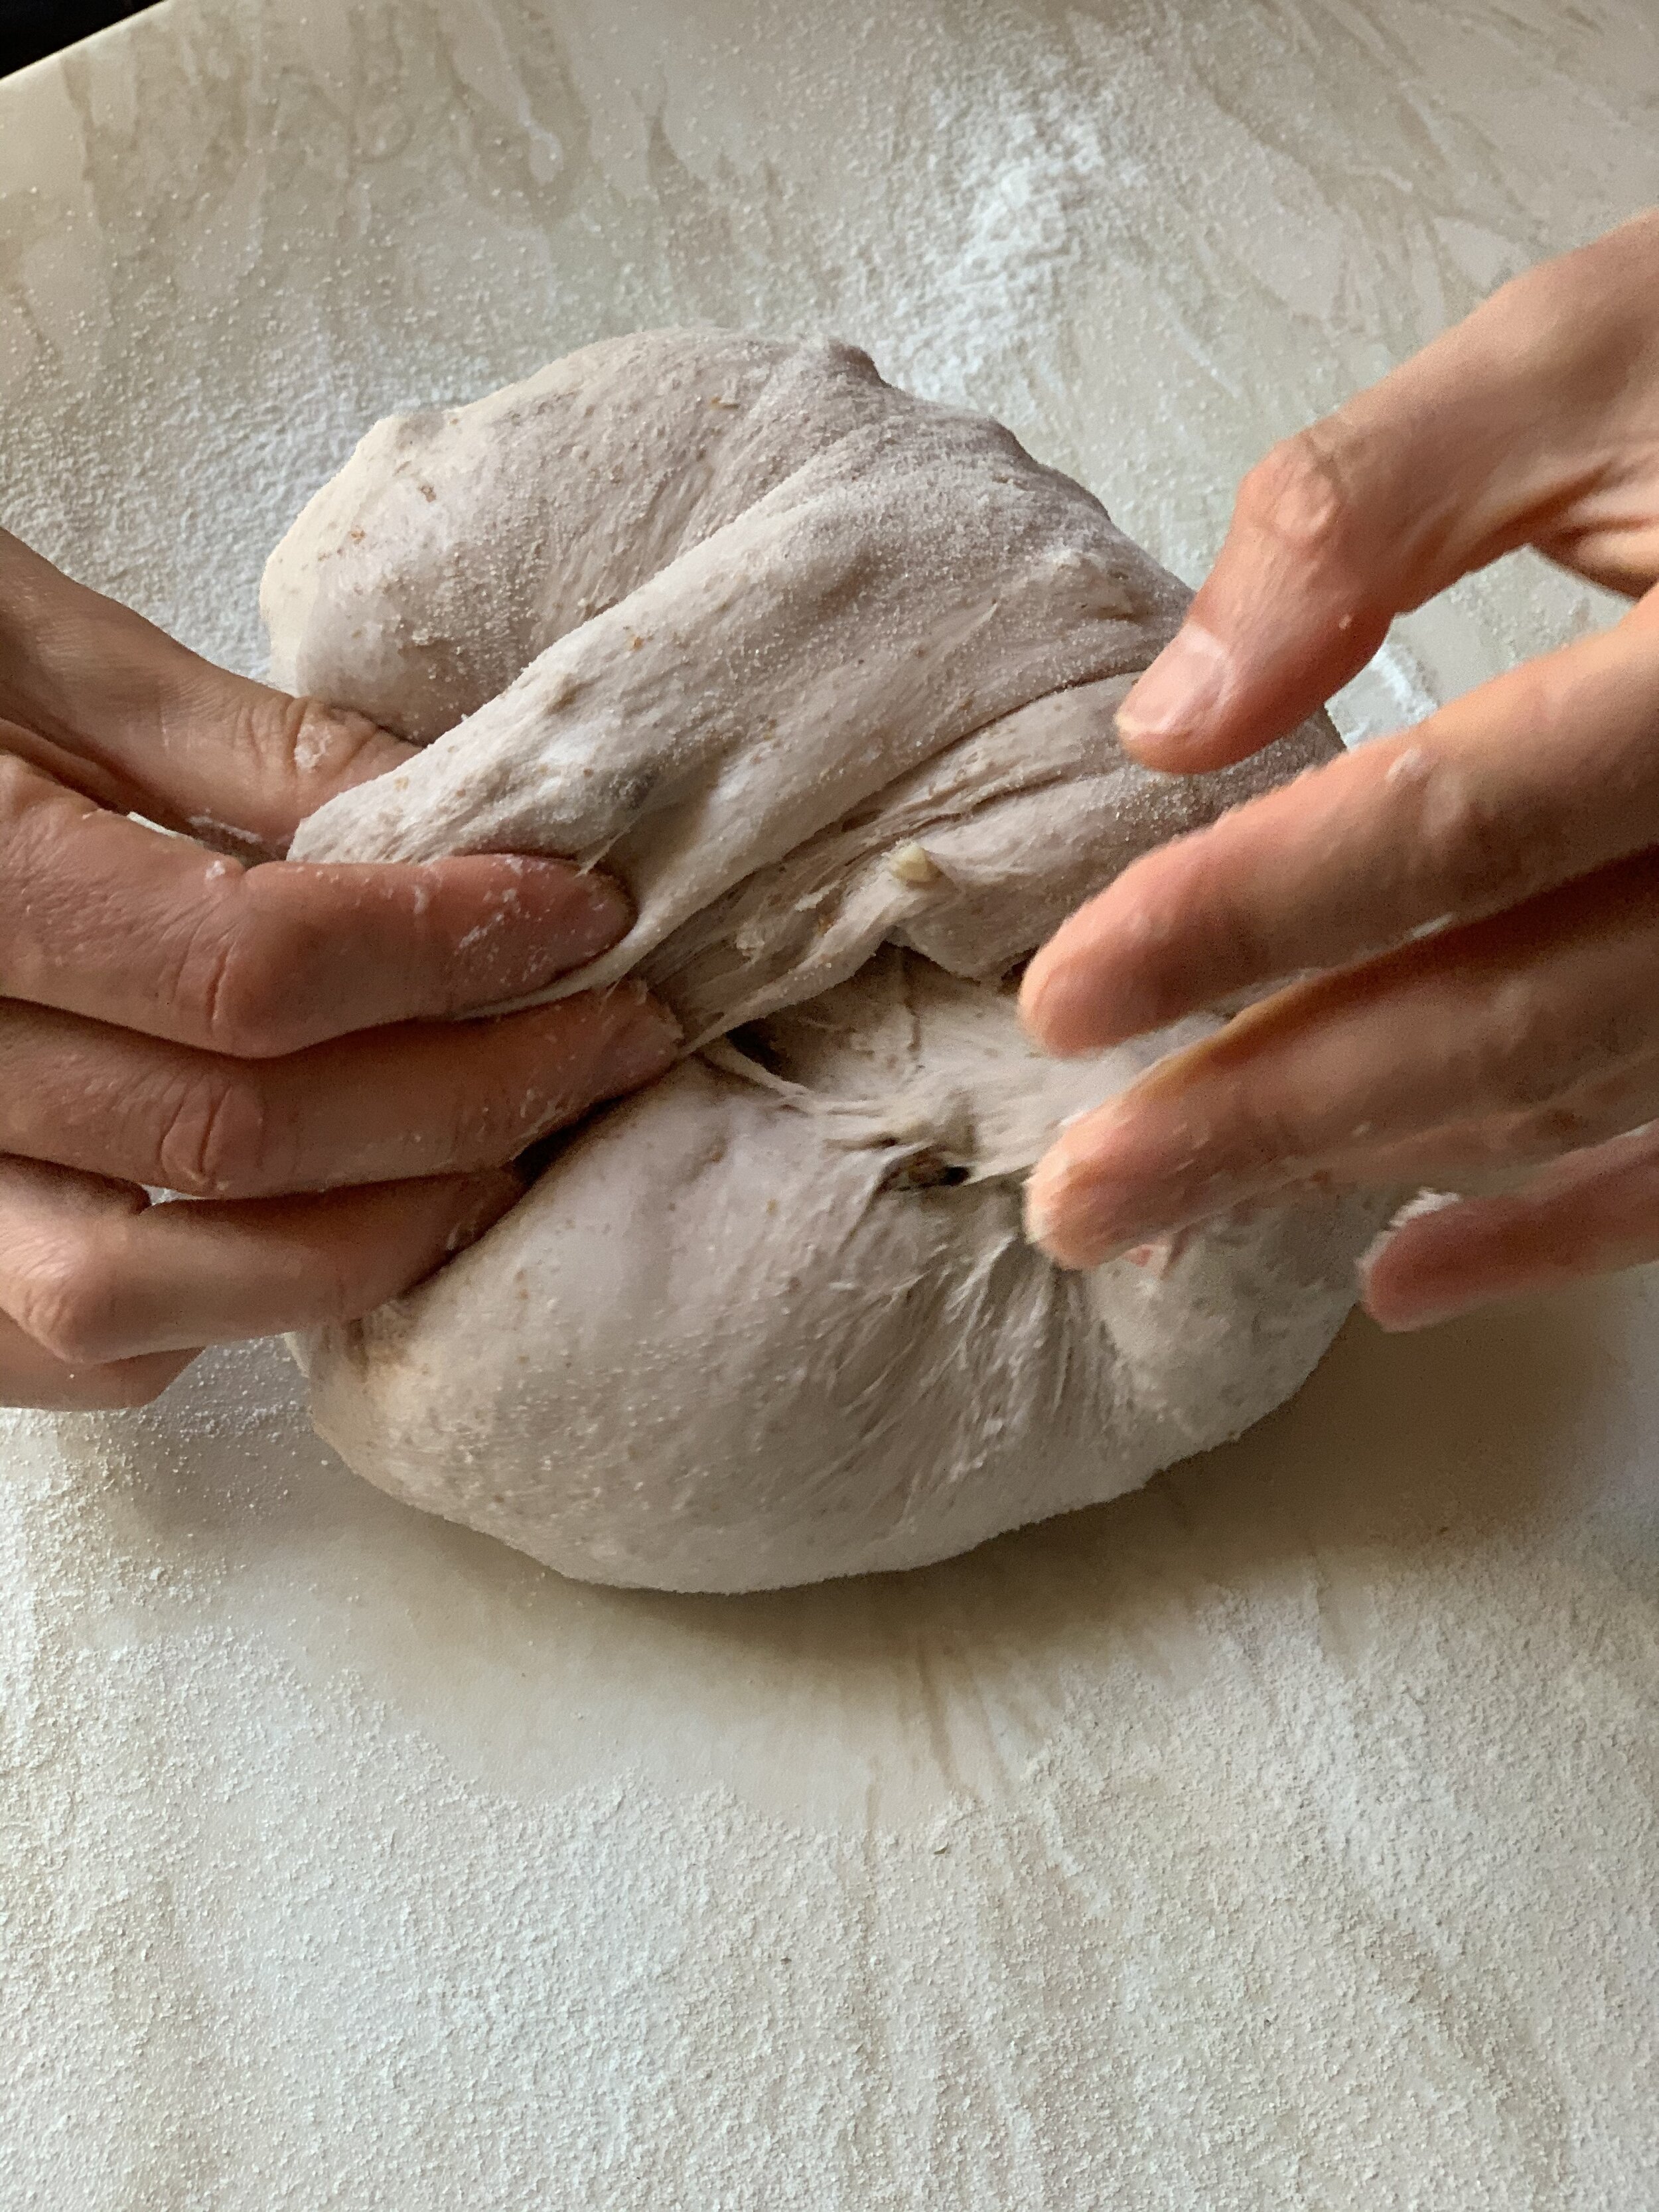
3. Fold and prove
Grab a piece of the dough from the underside as it sits in the bowl, stretch it upwards and then fold it back down on top. Do this gently as you only want to knock some of the air out of the dough not flatten it completely. I do this all the way round the dough which roughly takes about 4 or 5 folds. I repeat this folding process several more times. Roughly every half hour. I don't count how many times I fold the dough I just keep going until I feel the dough has had enough time to prove.
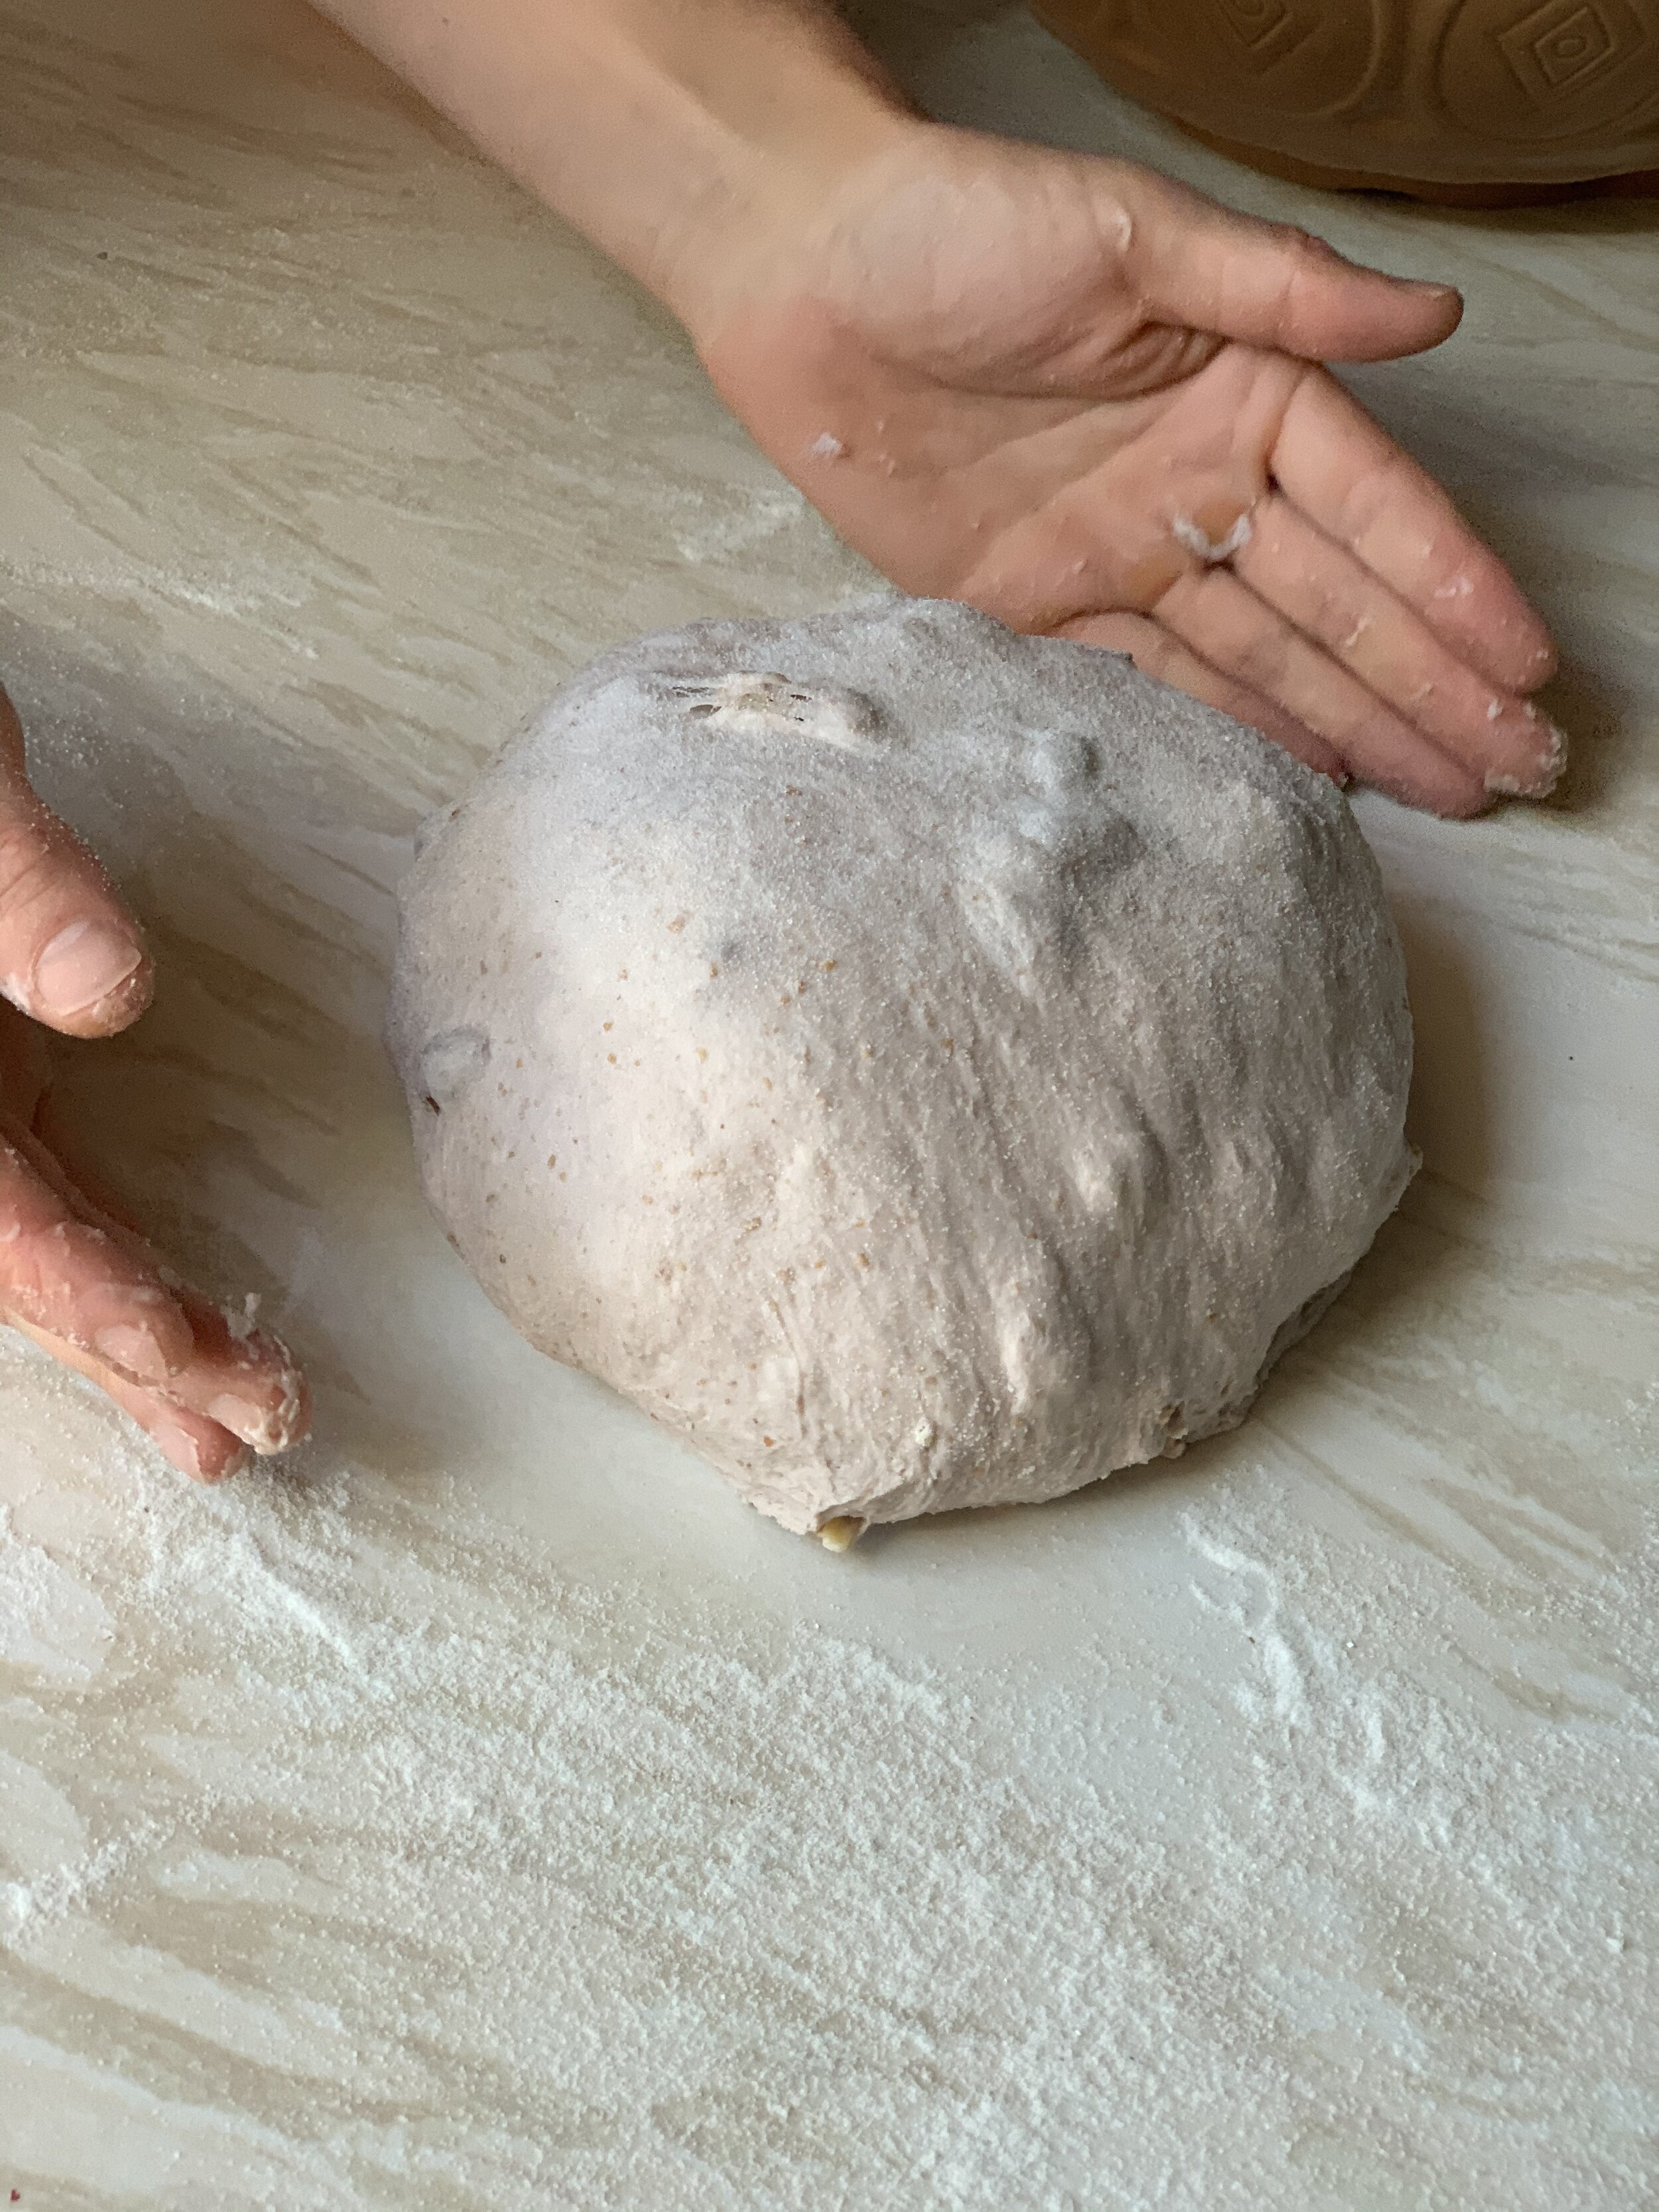
How long should you prove for? There are many factors that affect proving time. These include the flour you use, how active your starter is and room temperature. Knowing when your dough is ready is something that will come with experience. I would suggest to make a decision primarily on the feel of the dough rather than on the amount of time that has passed. I generally determine that the dough is ready when it has roughly doubled in size and I get tight puffy ball that bounces back into shape when gently pressed.


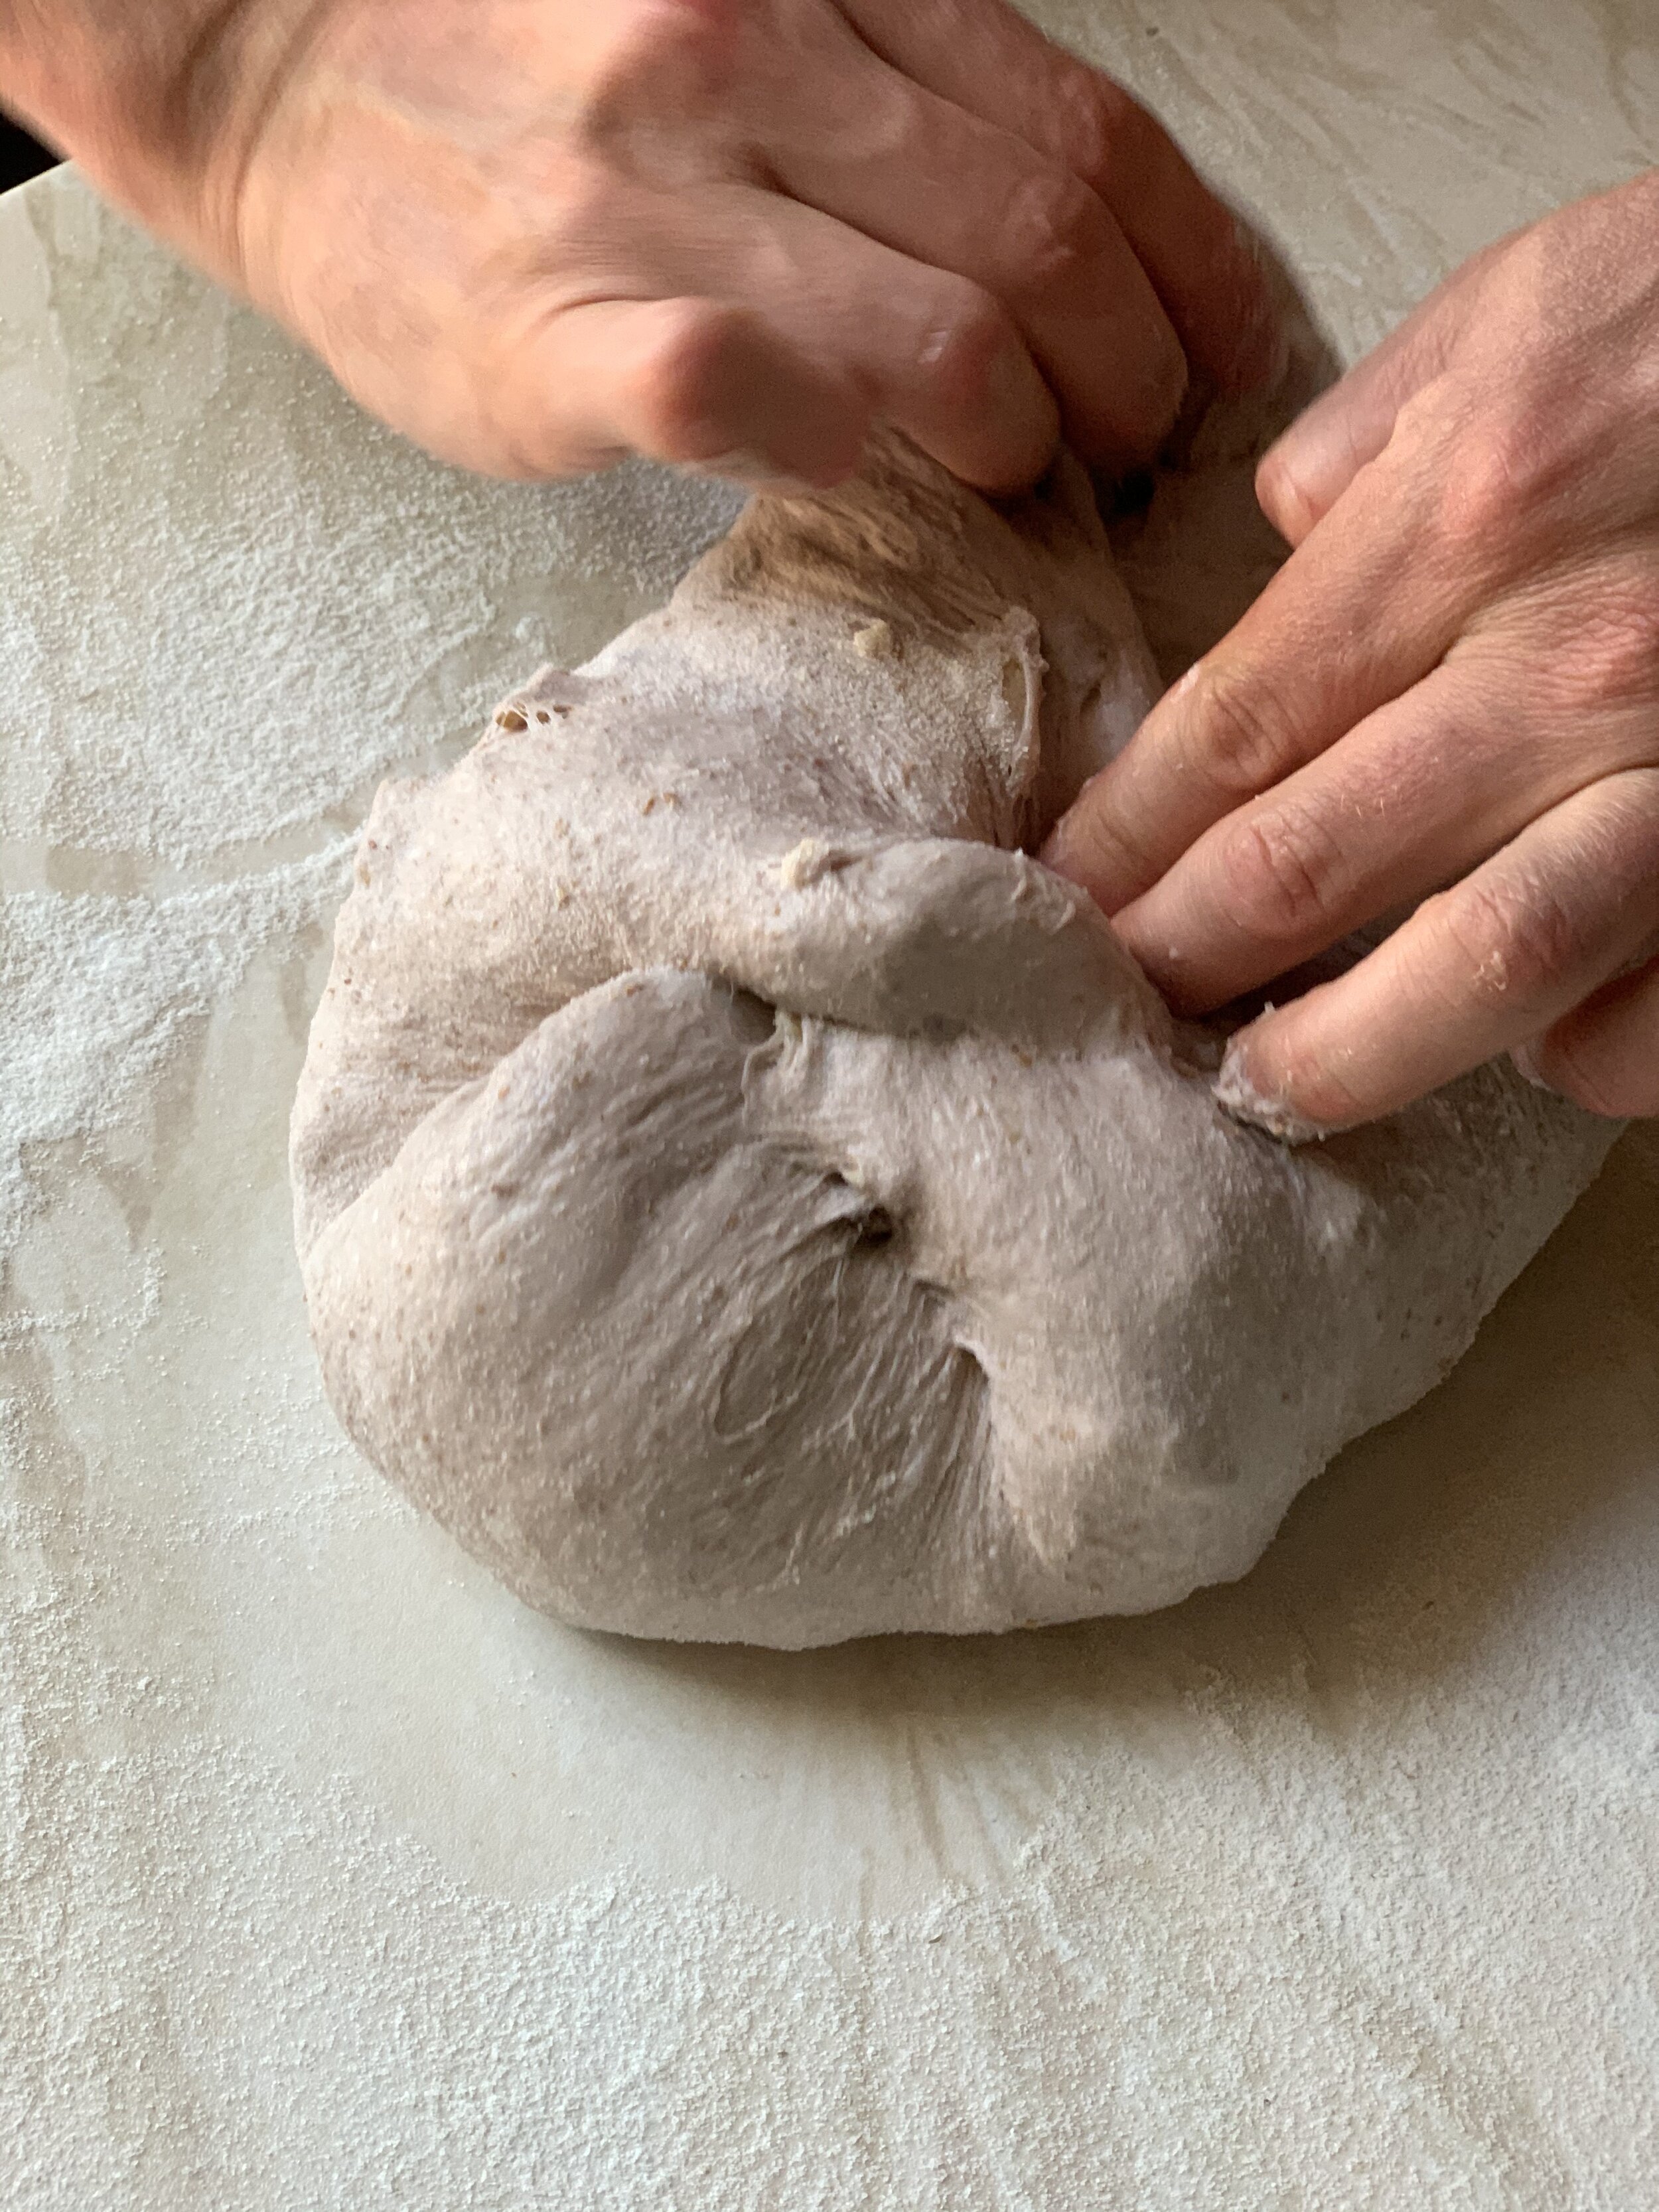
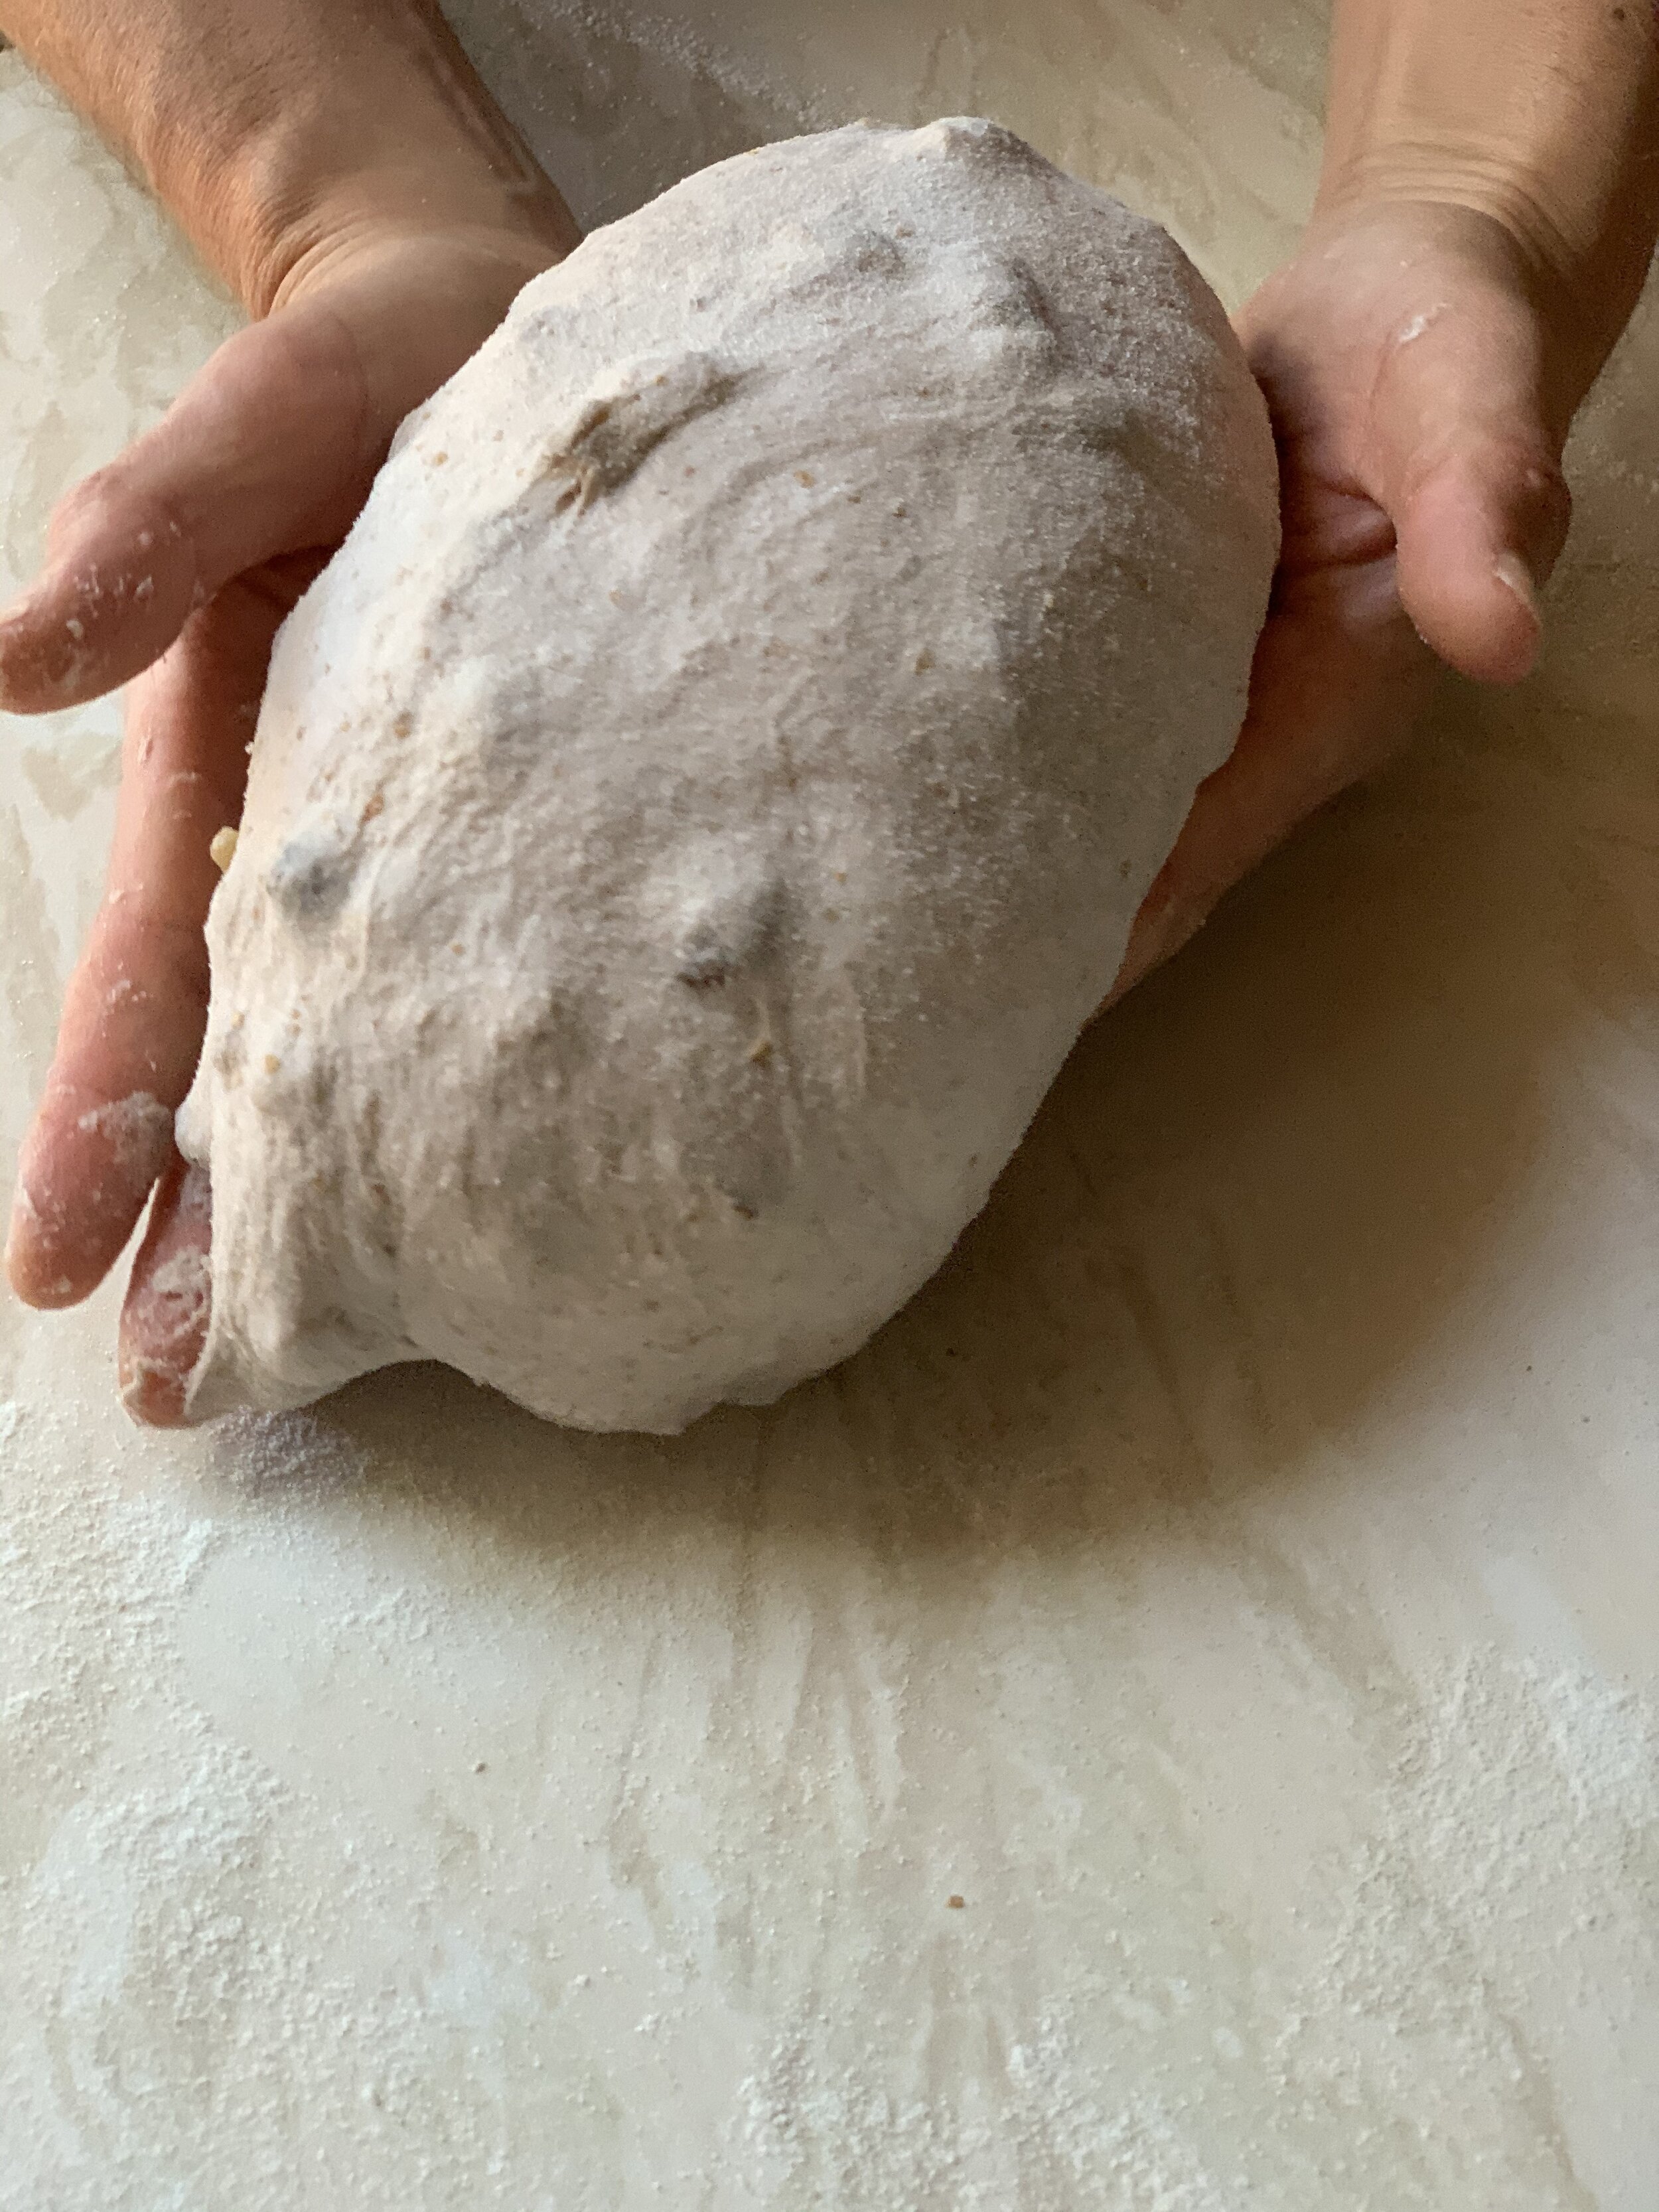
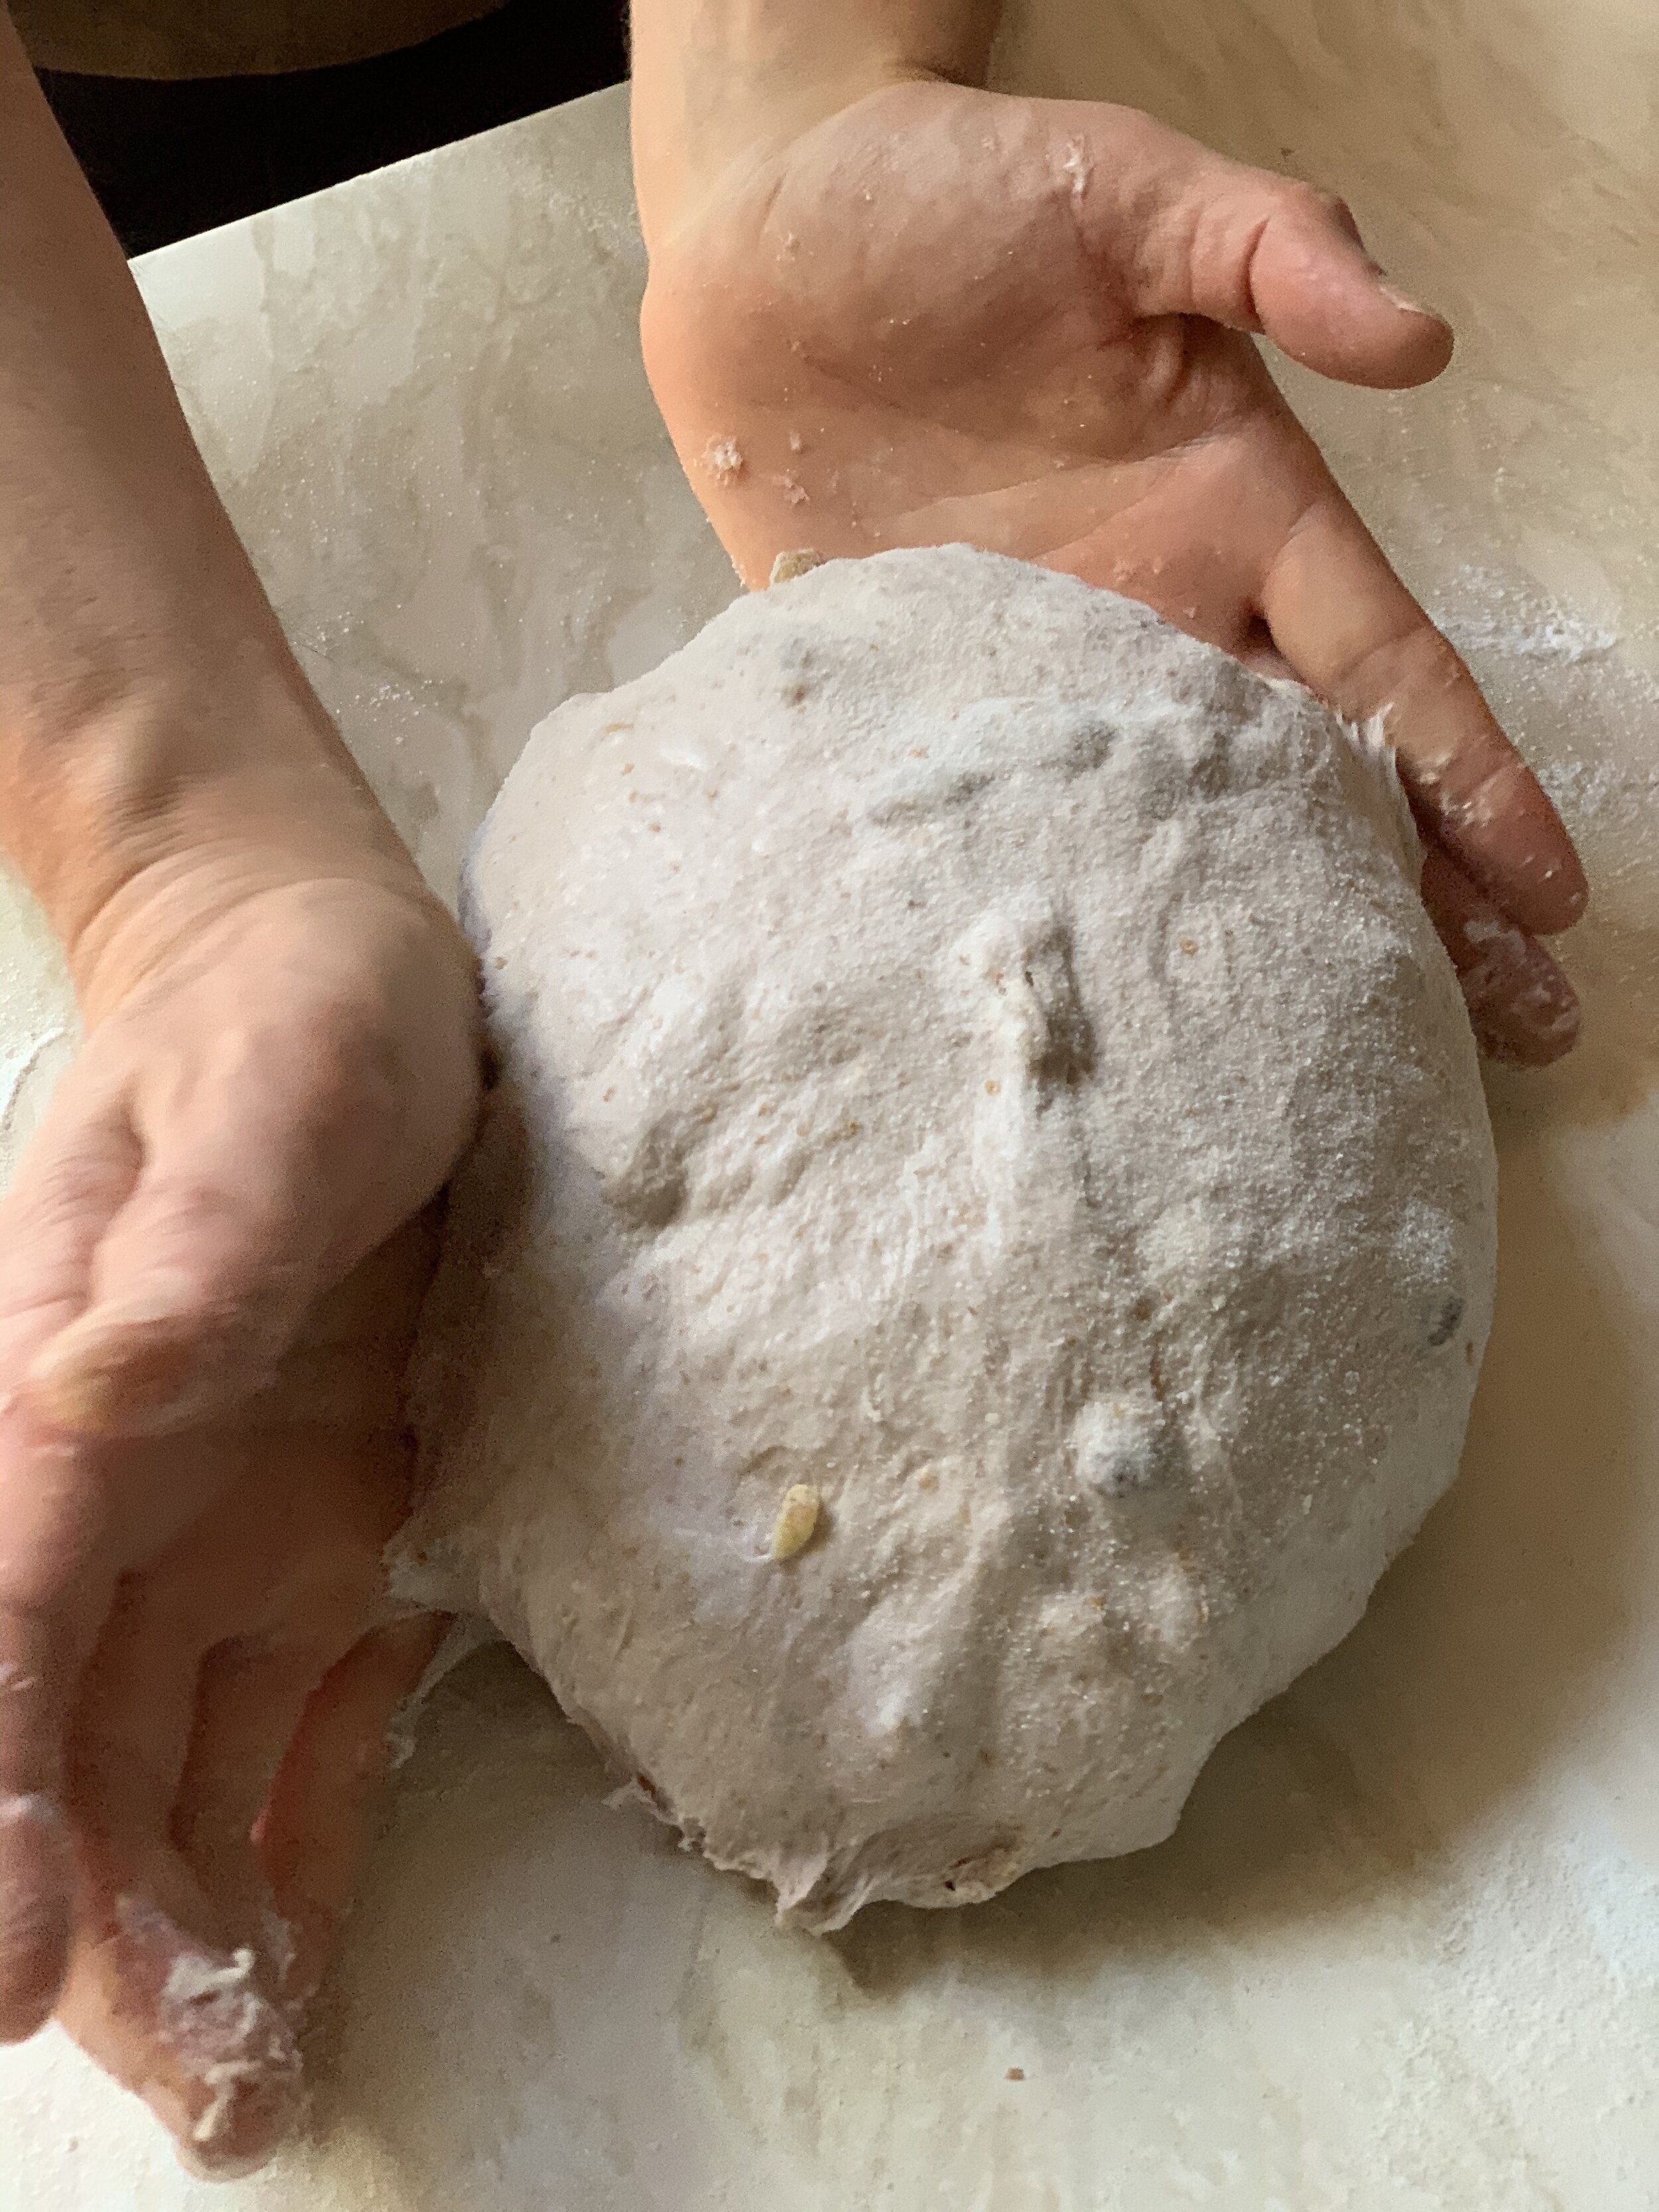
Do the final fold on a work surface dusted with rice flour (Try not to fold any of the flour into the dough). Dust a proving basket with a little of the rice flour. Then fold the dough into a shape that roughly matches the shape of the proving basket. Flip the dough over and cup your hands around the ball and gently roll and rotate the dough across the work surface to form a tight ball. Then gently place the dough into your proving basket, cover with a tea towel and leave for the final prove (around 20 - 30 mins).

3. Bake

While the dough is proving, heat your oven to 250c or as high as it will go with the dutch oven inside. I normally let the dough prove for 5-10 minutes and then turn the oven on.

When the dough has increased in size by about a third it is ready for baking. By the time the oven is hot the dough is normally good to go.

Carefully (it will be very hot) take your dutch oven out from the oven and place on a heatproof surface (I place mine on the pan supports of a gas hob). Tip the dough from the proving basket directly into the hot dutch oven being careful to not knock too much air out. I tip the dough onto the shallow skillet of the combo cooker and use the deep skillet as a lid so it is easier to slash the dough.
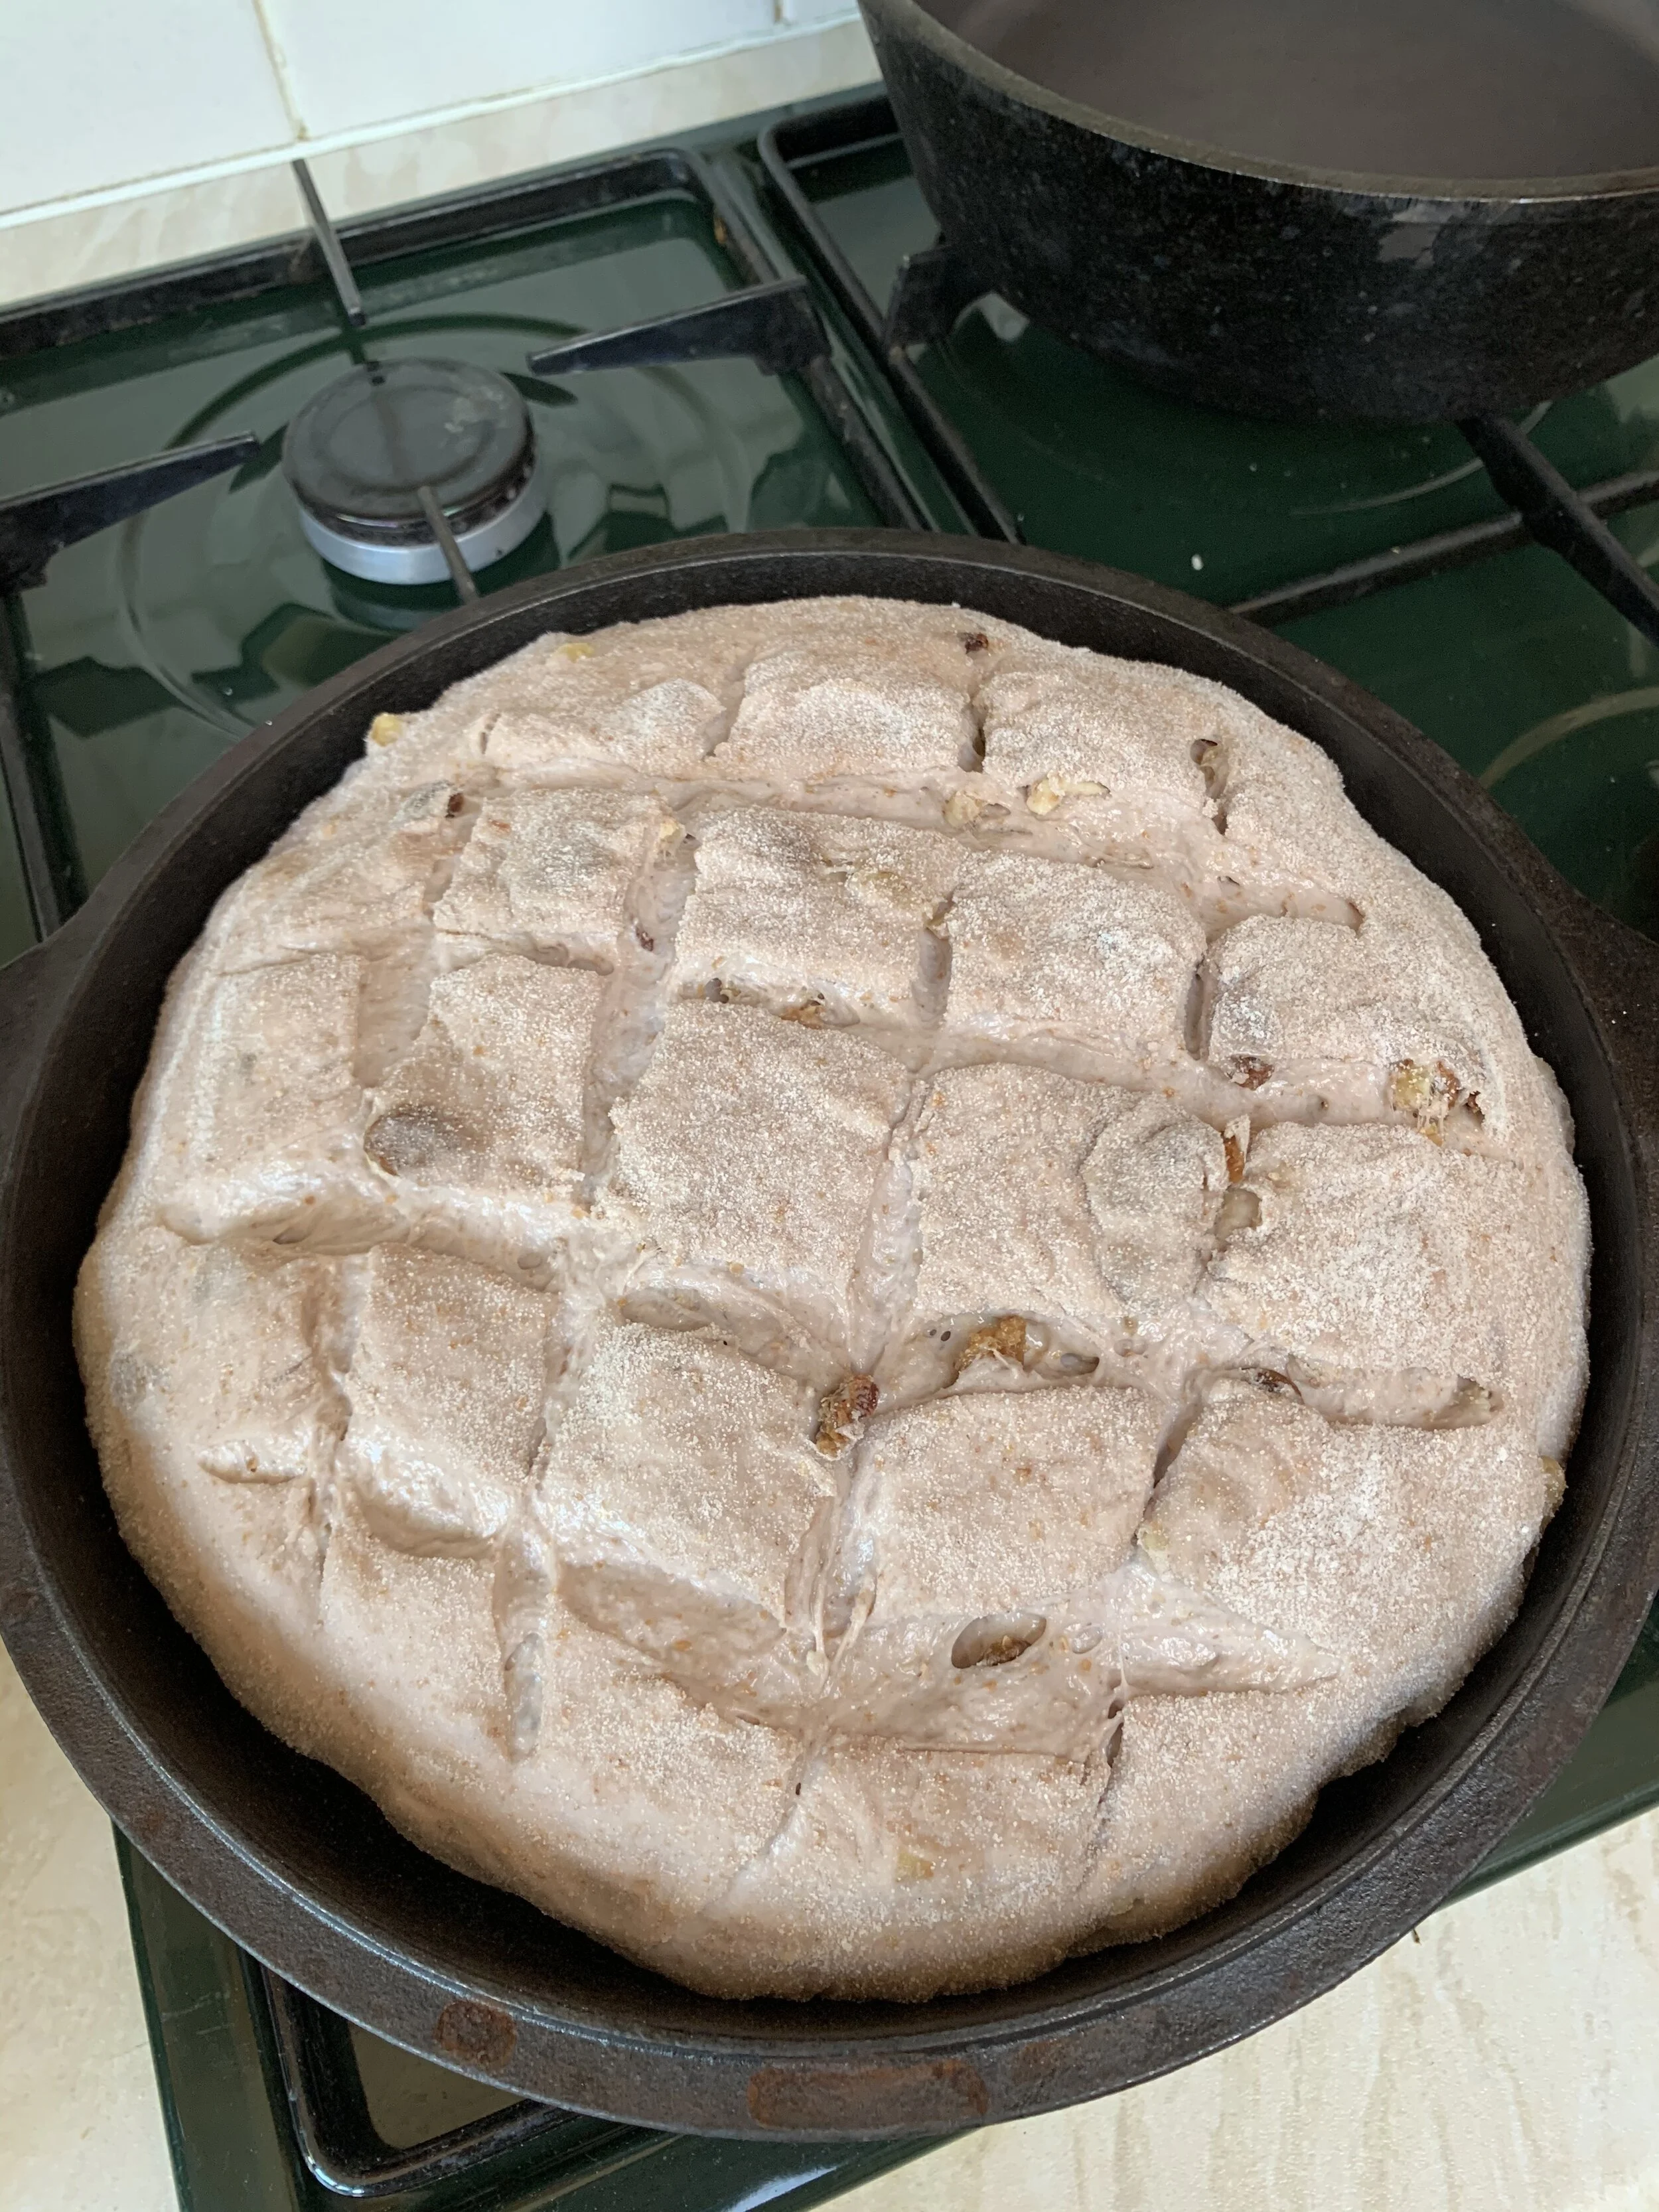
I then slash the top of the dough with a sharp knife or razor blade to help the loaf expand in the oven. Get creative with your slashing patterns if you like. Place the lid back on the dutch oven and return to your hot oven and bake for 15 minutes. I try to transfer the dough from basket to oven relatively quickly so as not to lose too much heat.

After 15 minutes of baking turn down the oven to 200c remove the lid of the dutch oven and bake the bread for a further 20 minutes. At this point the bread may still look quite pale but, with the lid off, will now begin to colour nicely.

When the 20 mins is up remove the loaf from the oven and transfer to a wire rack to cool.